


Guide: Sådan indstiller du din pladespiller

I en tid, hvor vinylen oplever en genopblomstring, er det vigtigt at få styr på, hvordan du får den magiske lyd ud af dine plader. Det får du ved at have en pladespiller der er indstillet og justeret korrekt, hvilket du kan læse alt om, hvordan du gør i denne guide. Efter du har fulgt vores trin, vil du opleve, at du har sat din pladespiller op til at levere en musikoplevelse i særklasse. Det kræver lidt tålmodighed og præcision, men når alt er indstillet korrekt, vil du opleve din yndlingsmusik med en klarhed og dybde, du aldrig troede var mulig. Så tag dig tid til at justere og finjustere, og lad dig derefter fordybe i de rige toner, fylde og nuancer, som vinylplader kan give dig.
Betydningen af pladespillerens materialer og masse
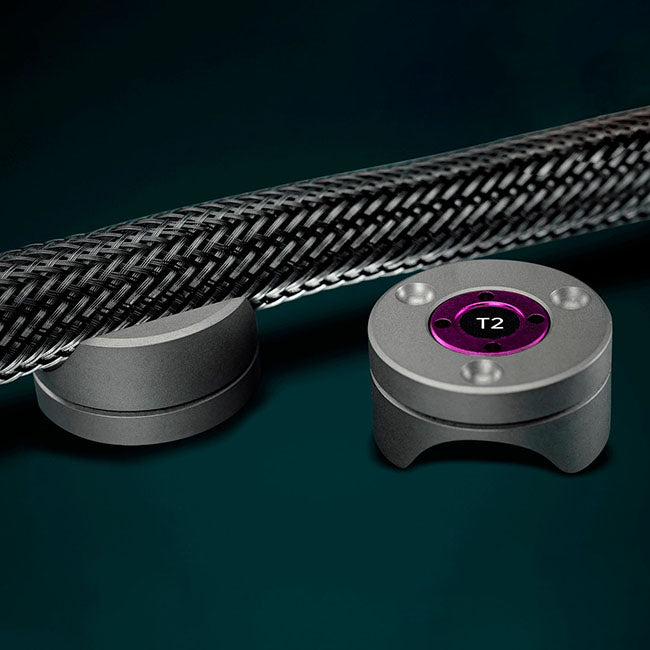
Pladespillere er utrolig modtagelige over for vibrationer og resonanser, som udgør en stor trussel mod lydkvaliteten. Pladespillere er nemlig følsomme apparater, der oversætter de mikroskopiske variationer i pladens riller til lyd. Enhver form for vibration kan dermed forstyrre denne præcise proces, og det er derfor vigtigt, at have styr på, hvordan du minimerer dem.
Vibrationer kan stamme fra forskellige kilder såsom gulve, højttalere, omgivende møbler eller endda selve pladespillerens motor. Disse vibrationer, når de overføres til pladespilleren, kan resultere i en forvrænget og forringet lydgengivelse. For at minimere vibrationer og resonanser bør du derfor tænke over, hvor du placerer pladespilleren.
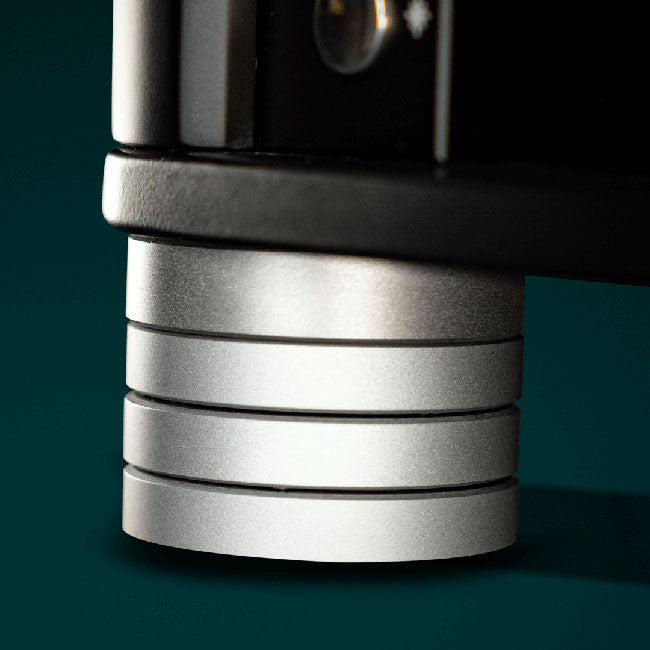
Vi anbefaler, at du placerer pladespilleren på et vibrationsdæmpende underlag, og væk fra højtalere og andre kilder, der skaber vibrationer. For seriøse entusiaster kan det være en god idé at investere i en dedikeret pladespillerhylde, der effektivt isolerer pladespilleren fra omgivelserne.
LÆS OGSÅ: Kom i gang med din pladespiller
Minimer resonanser og vibrationer i pladespilleren
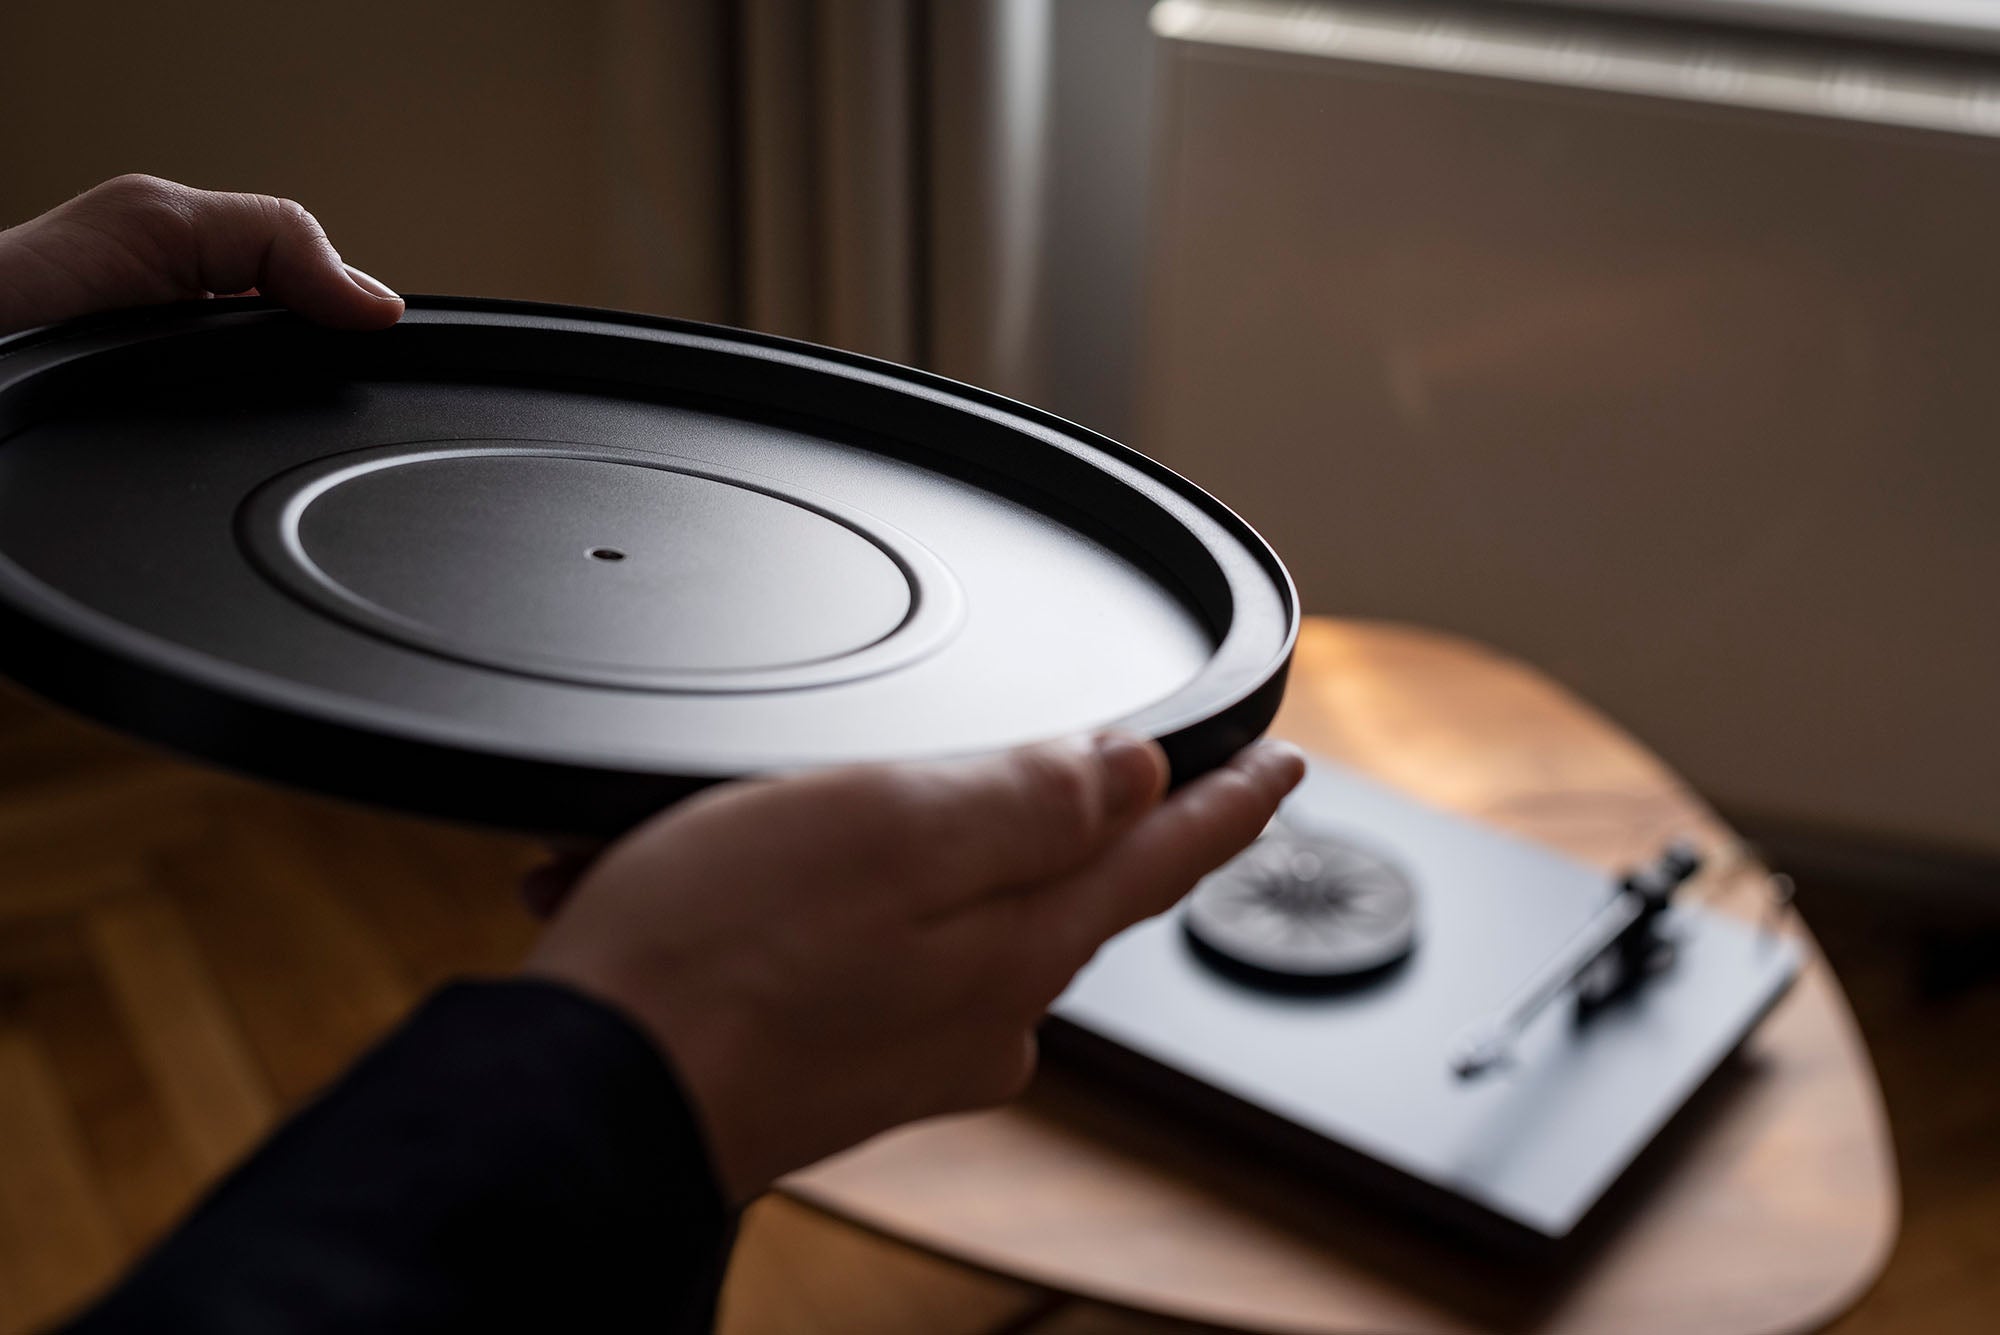
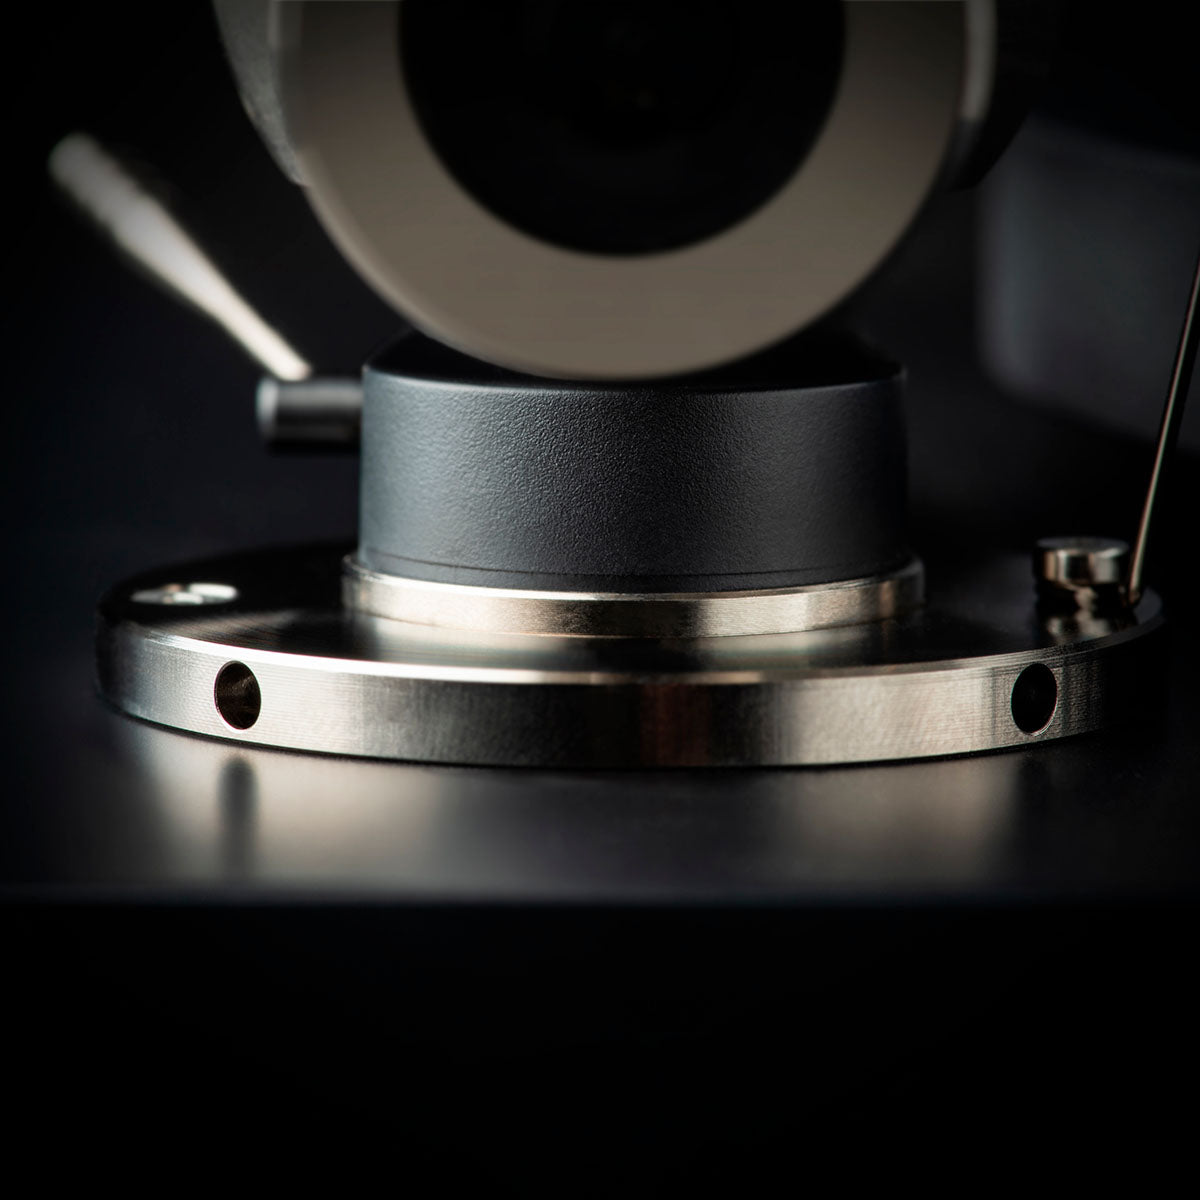
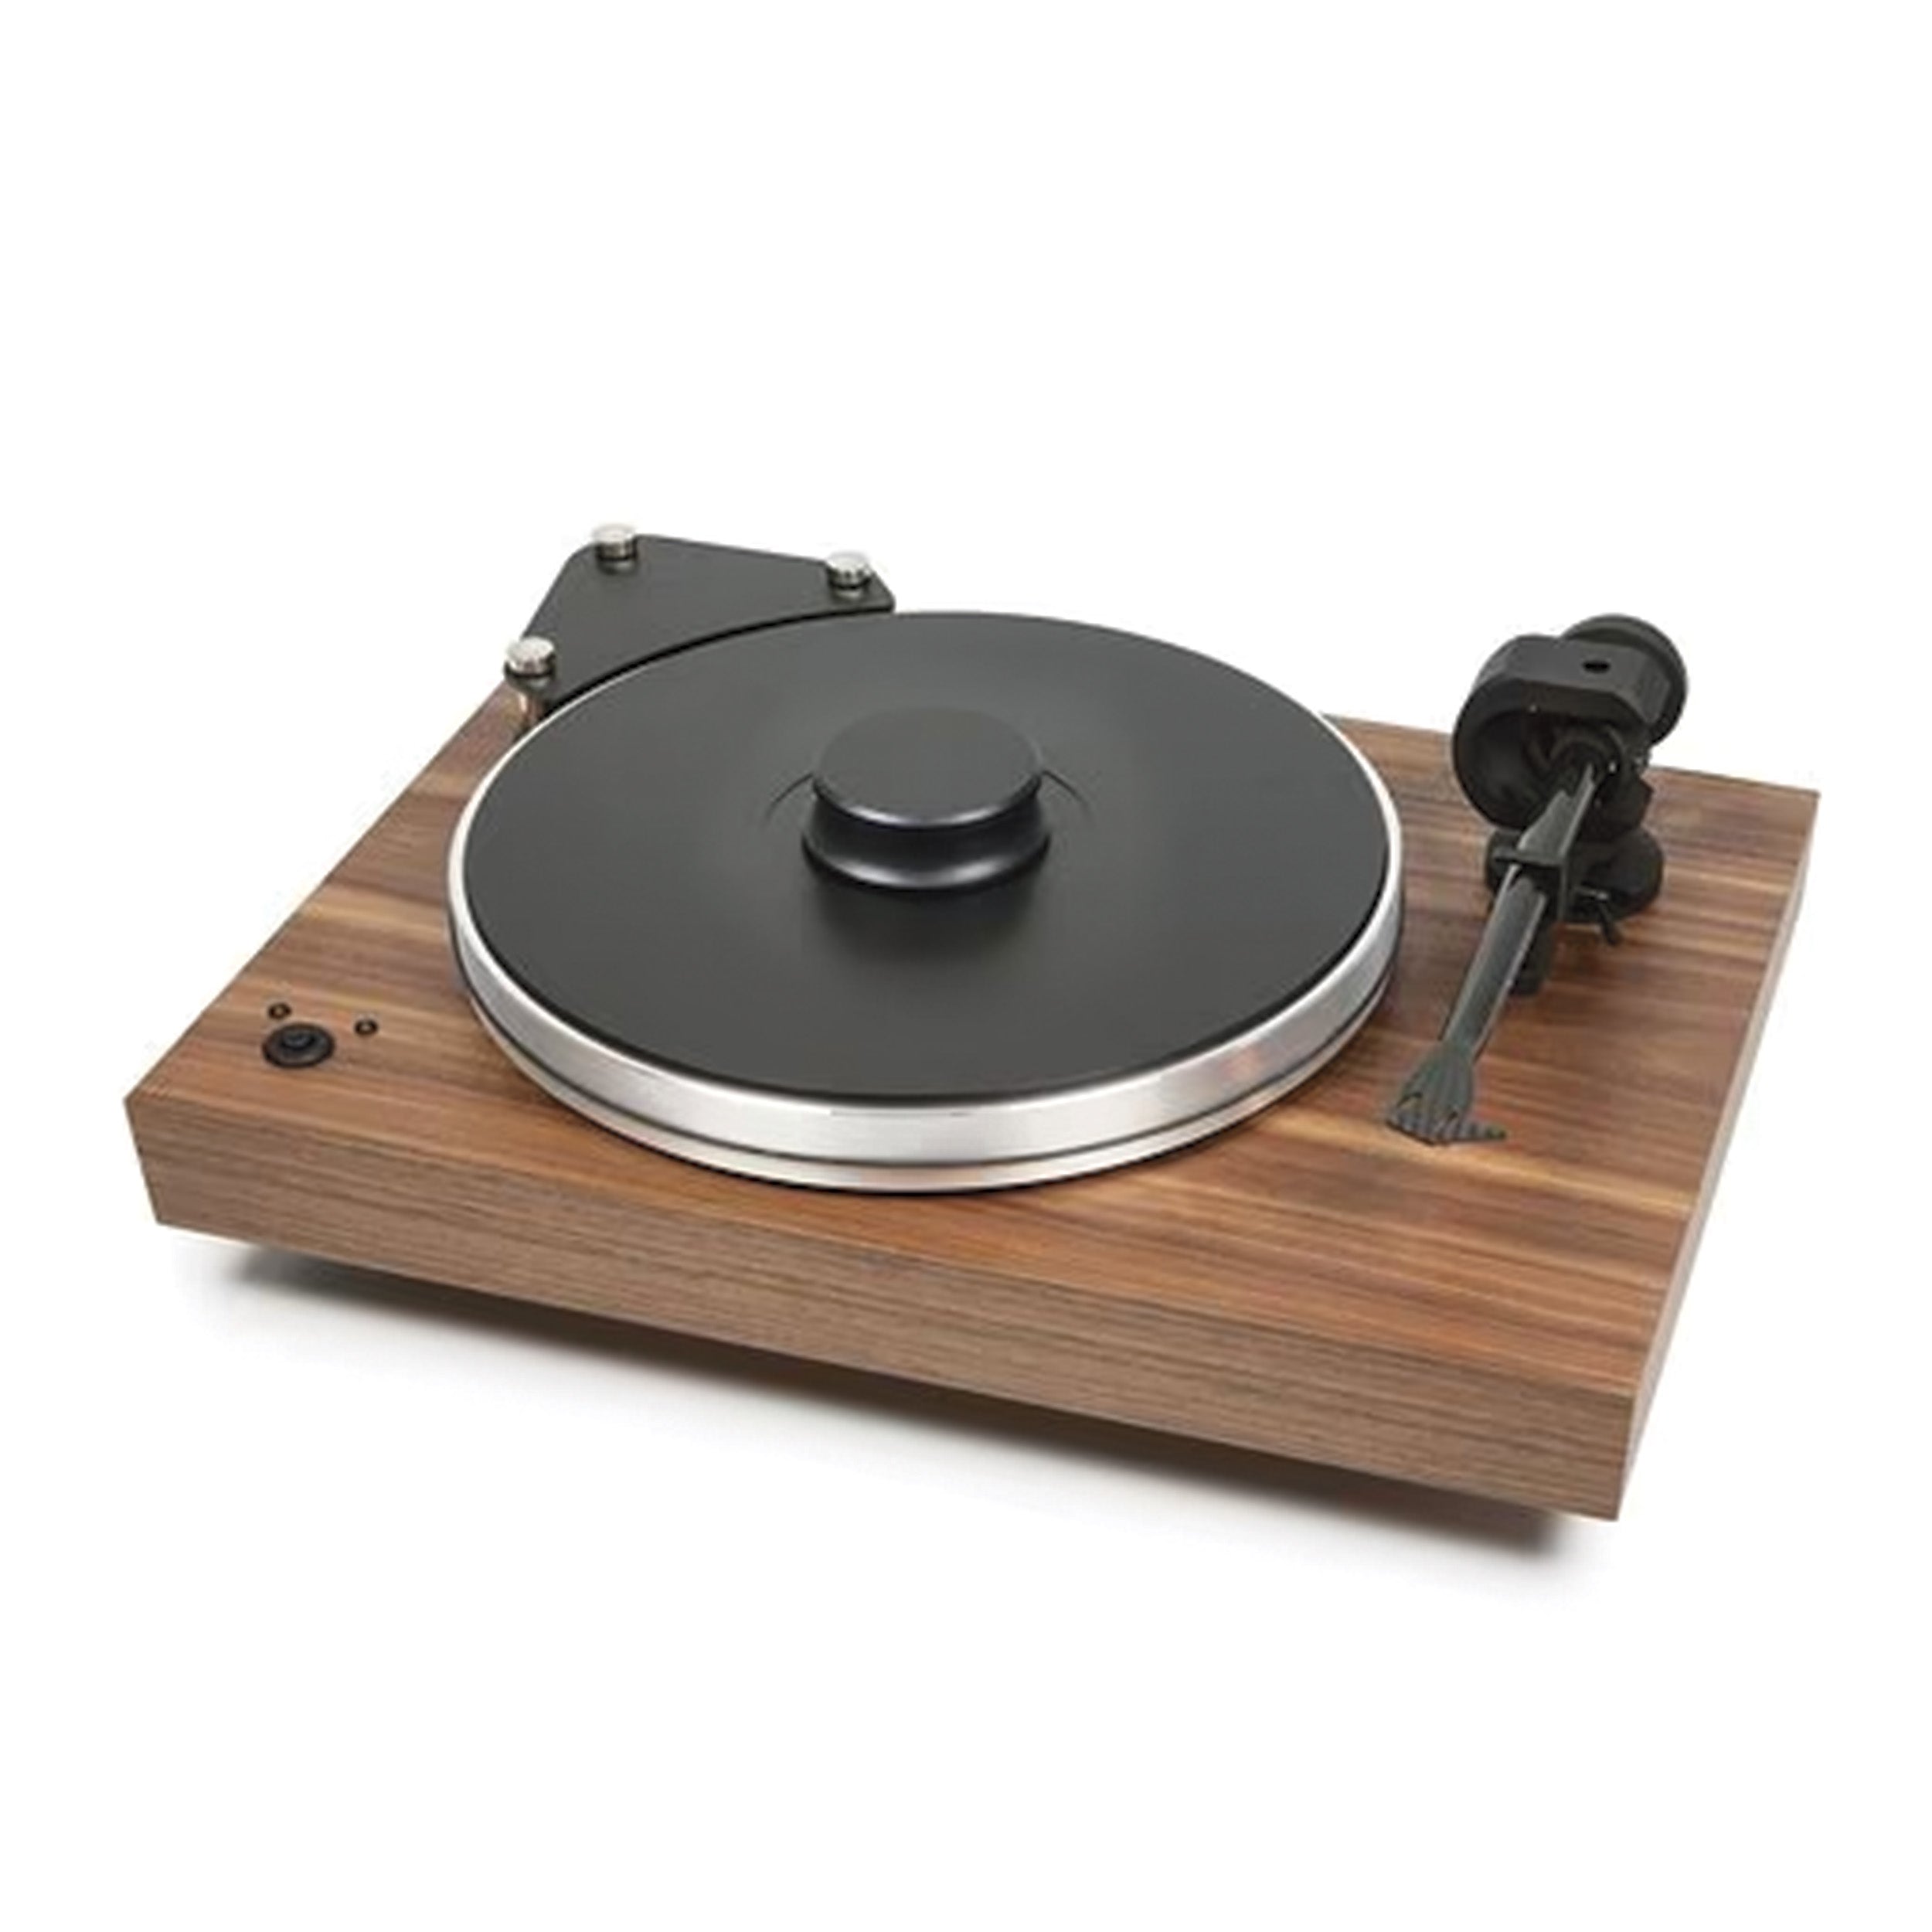
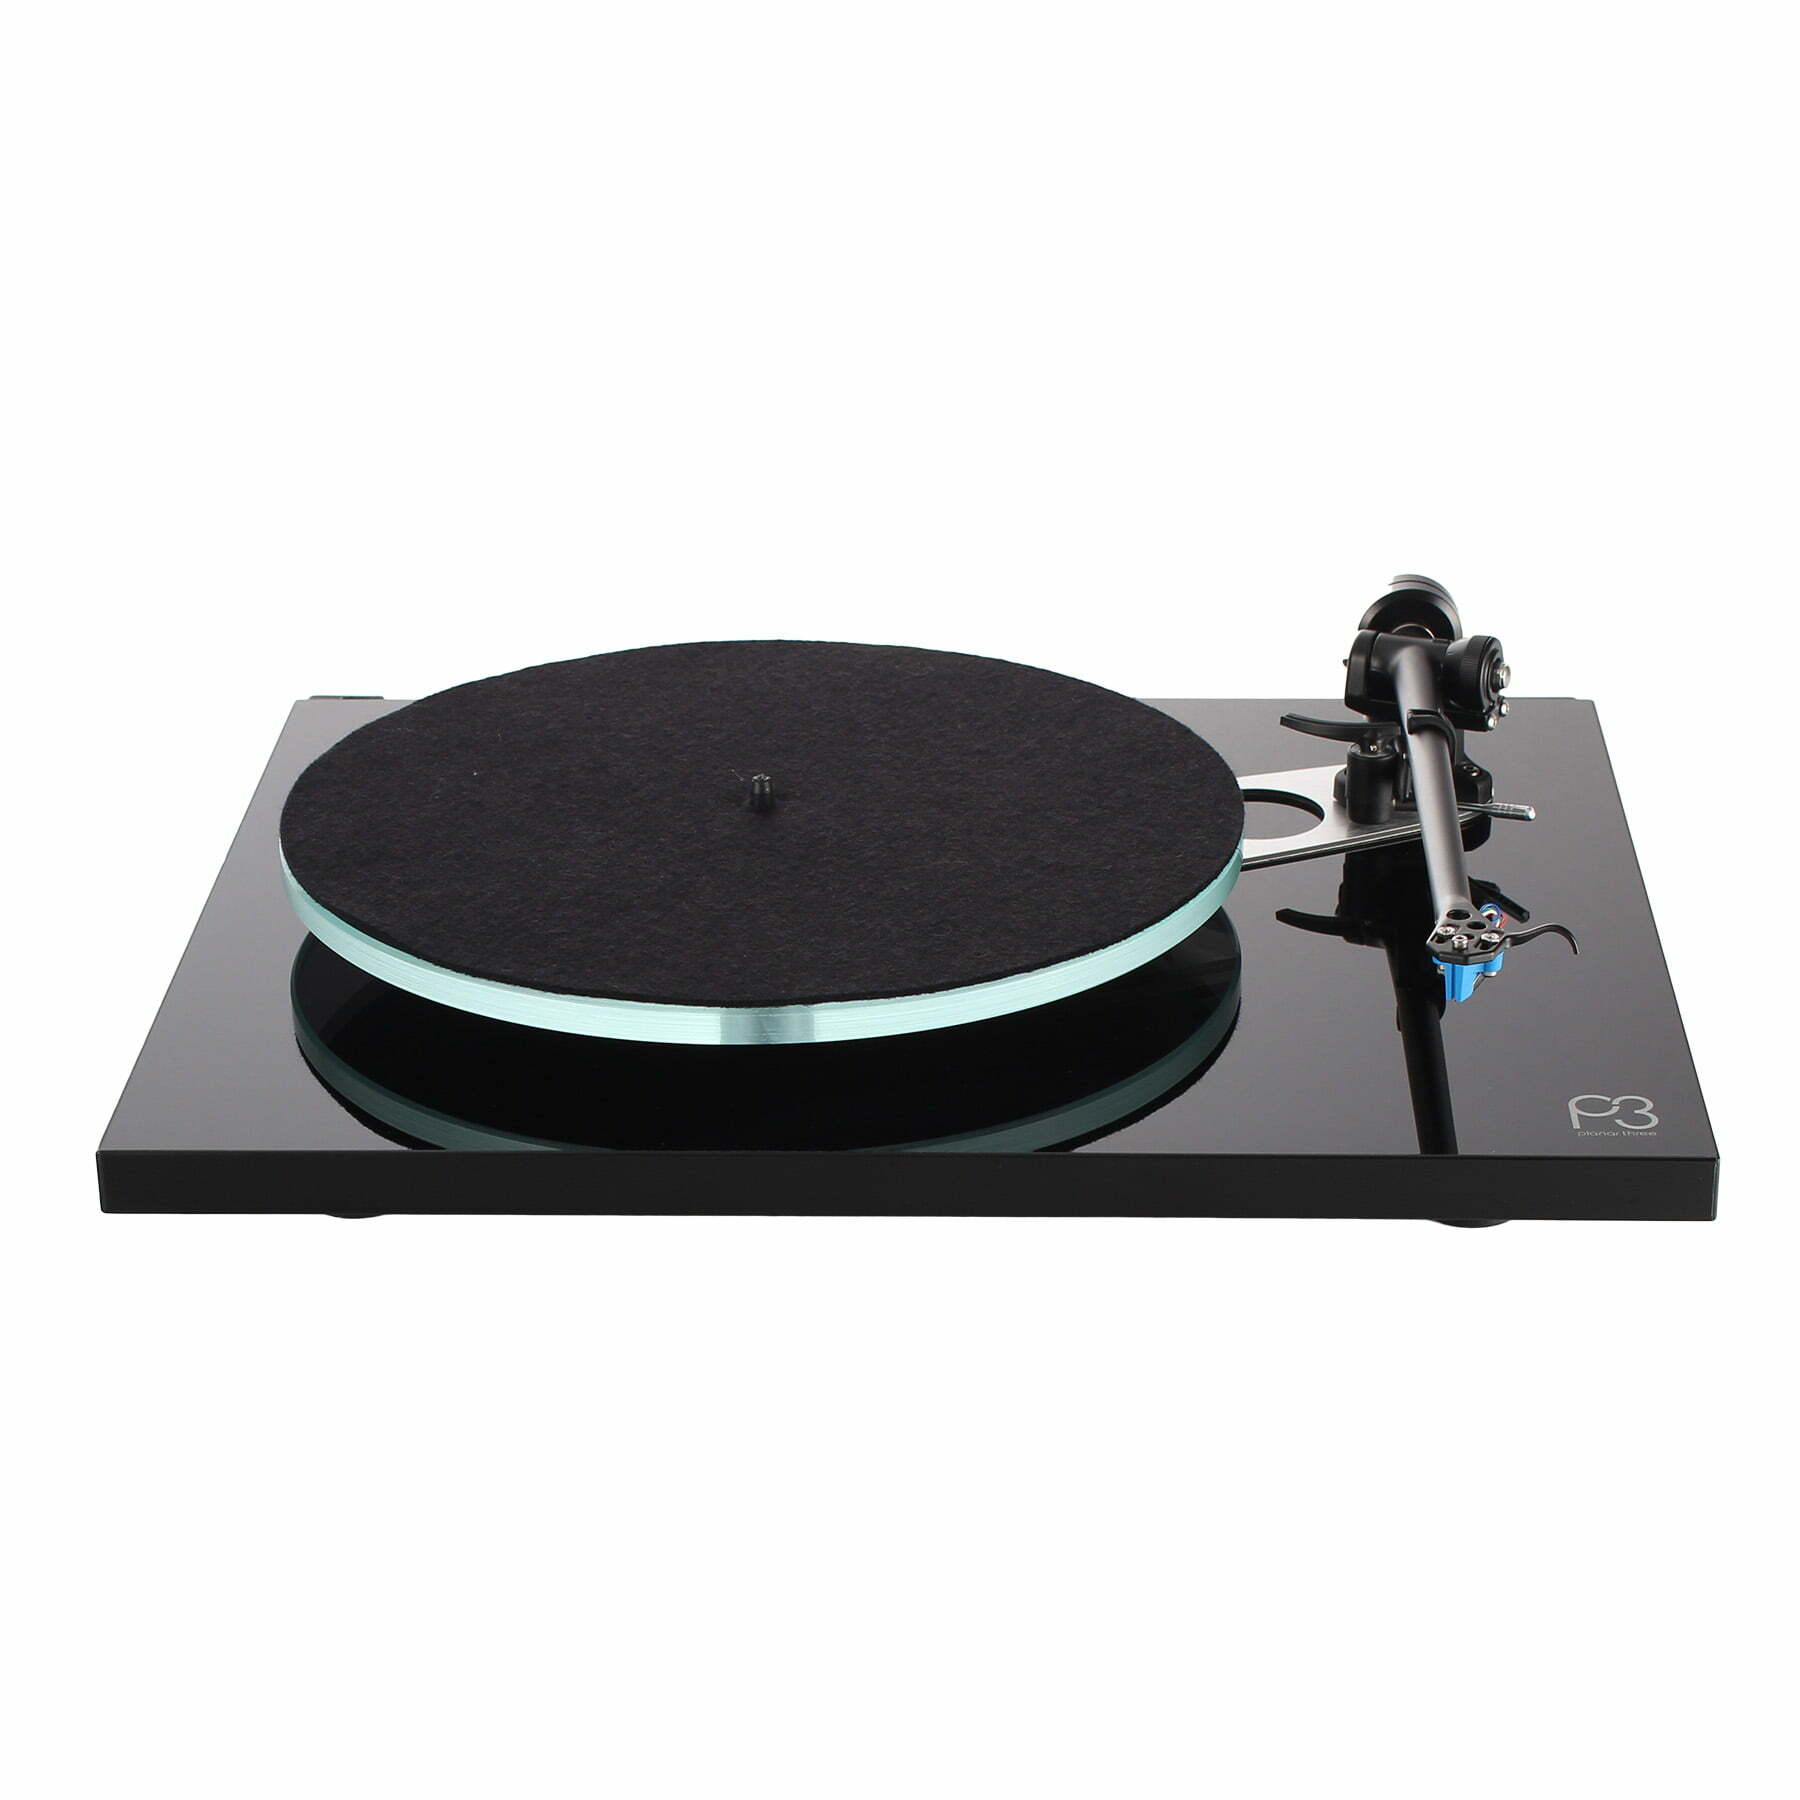
Valget af materialer og deres masse har en signifikant indflydelse på vibrationer og resonanser. Materialer som MDF, metal, akryl og kulfiber, har hver især unikke egenskaber, der alle bidrager til at kontrollere vibrationer. For eksempel er MDF kendt for at modvirke vibrationer og skabe en stabil base, men ofte vil materialerne kombineres for at optimere pladespillerens evne til at håndtere uønskede energier. I de dyre pladespillere bruges der ofte en kombination af materialer som akryl, metal og kulfiber, for at opnå den bedst mulige lydkvalitet.
Pladespillerens masse påvirker også dens evne til at modstå resonanser. En passende masse kan fungere som en stabil base og reducere risikoen for resonanser, der kan forvrænge lyden. De mange pladespiller producenter har vidt forskellige filosofier, når det kommer til, hvordan materialerne og massen skal sammensættes, for at opnå den bedste lydkvalitet.
Britiske Rega er en af dem, der bruger massen særdeles velovervejet. Det ses fx ved designet af deres pladespillertallerken, hvor det meste af massen er placeret på dens yderside, så der skabes en stor svinghjulseffekt. Samtidig har de lavet tallerkens inderside så stiv og let som muligt, så der skabes det perfekte kompromis. For pladetallerkenen har behov for ekstra masse for at kunne holde en konstant rotationshastighed, men for meget vægt kan hurtigt skabe problemer for centerlejet.
Selvom de pladespiller producenter er forskellige i deres filosofier, så er de enige om, at masse og materialer har stor betydning for pladespillerens lydkvalitet.
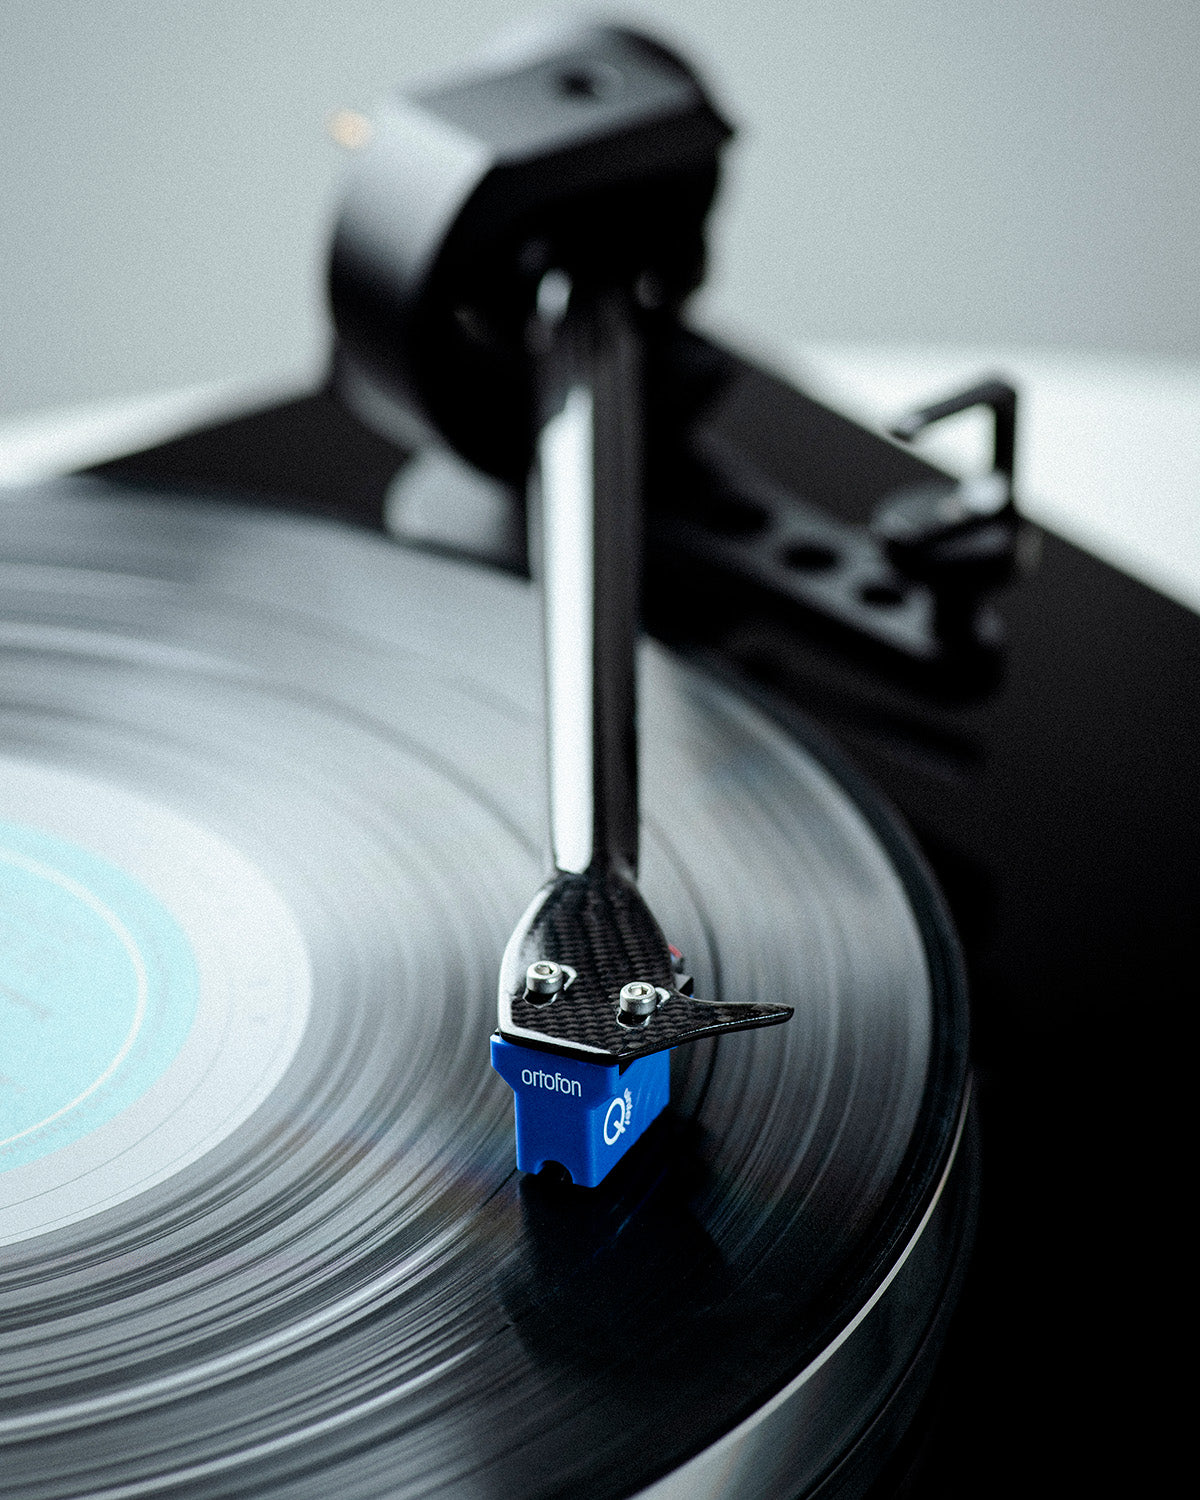
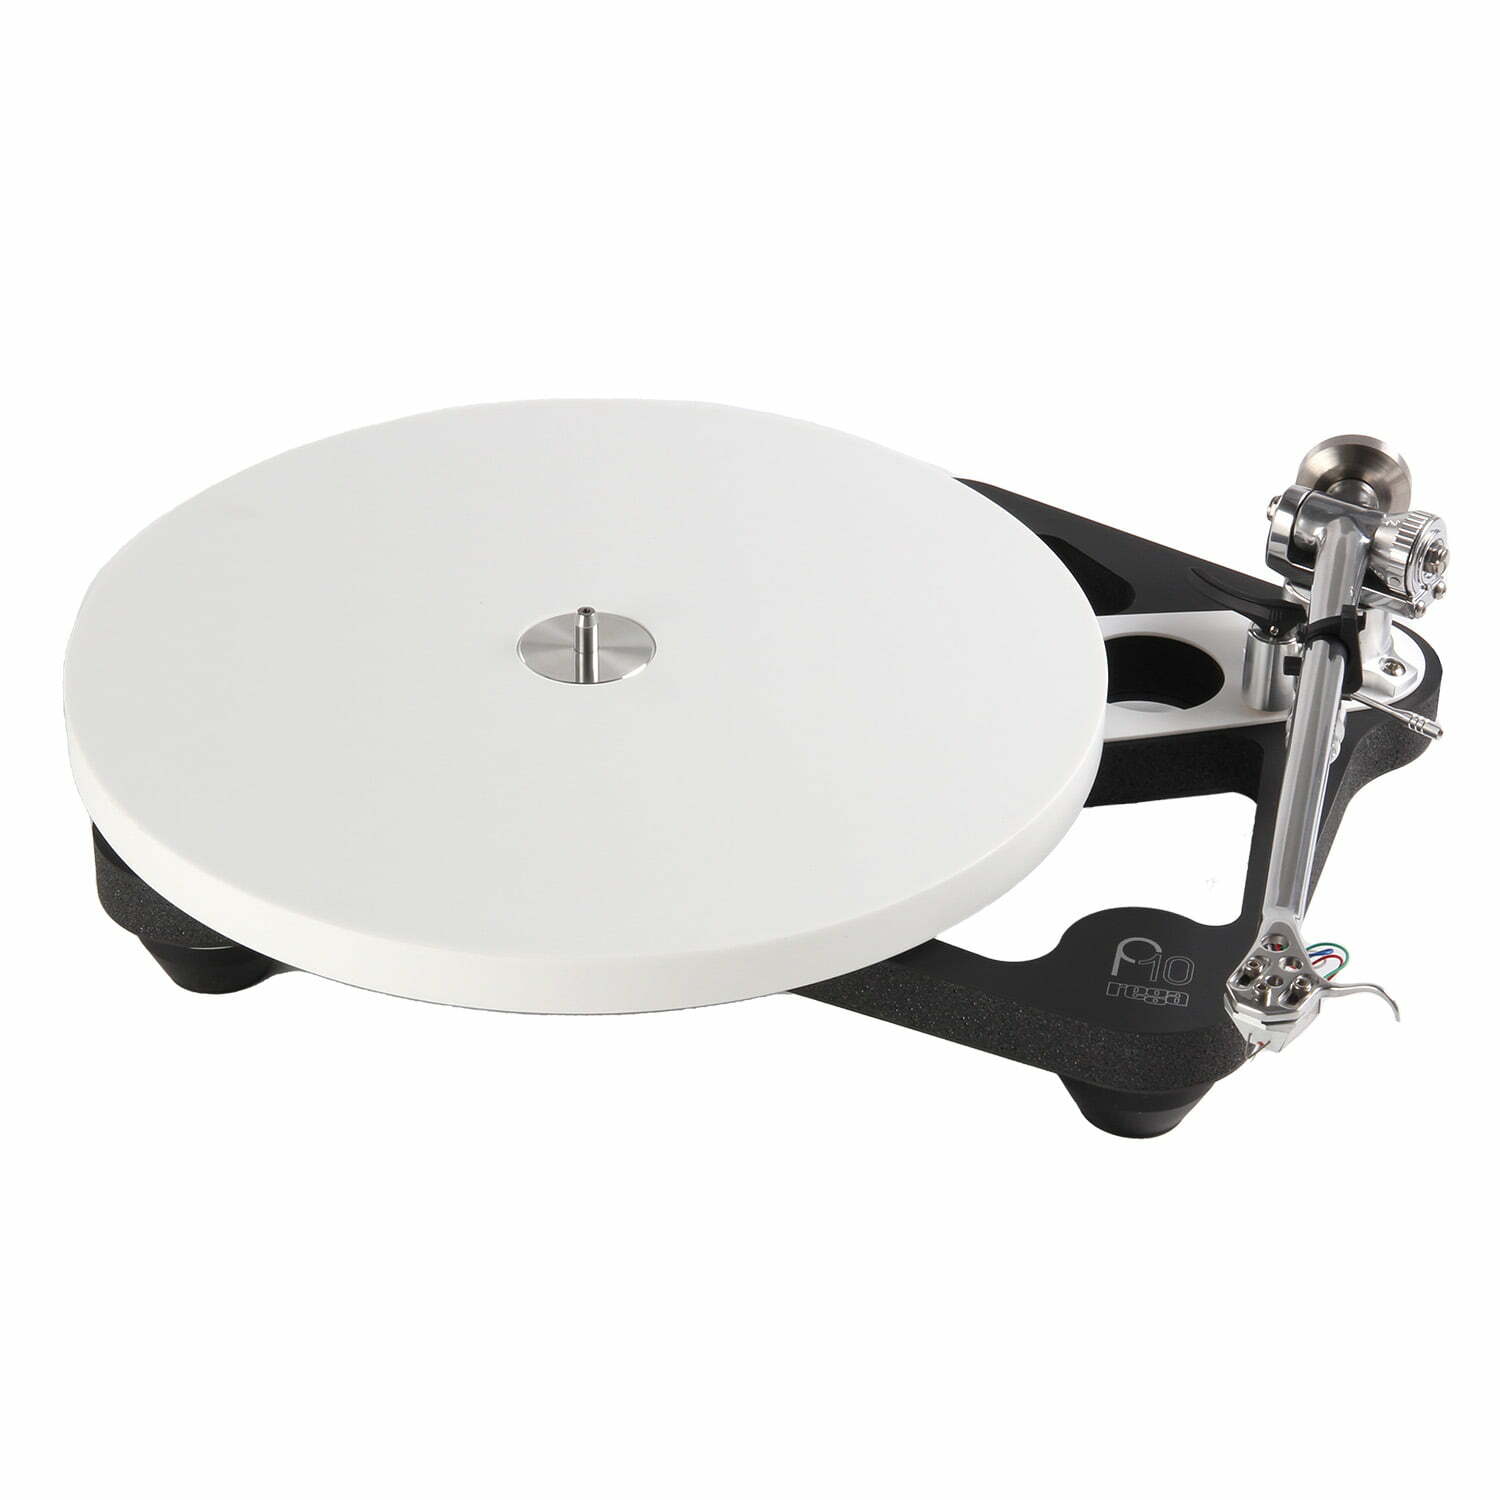
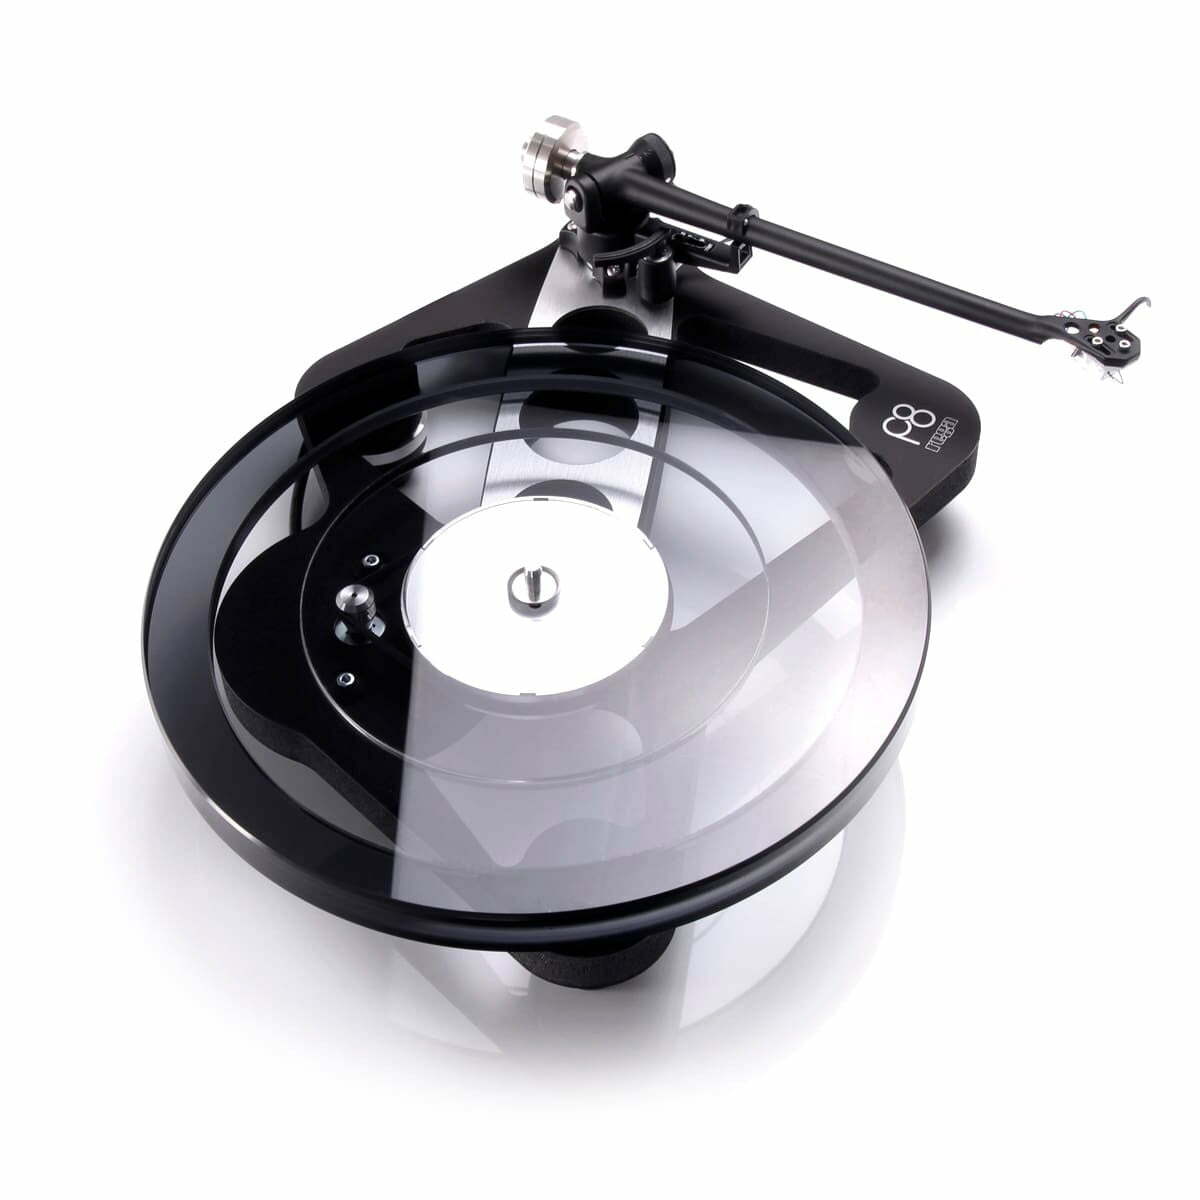
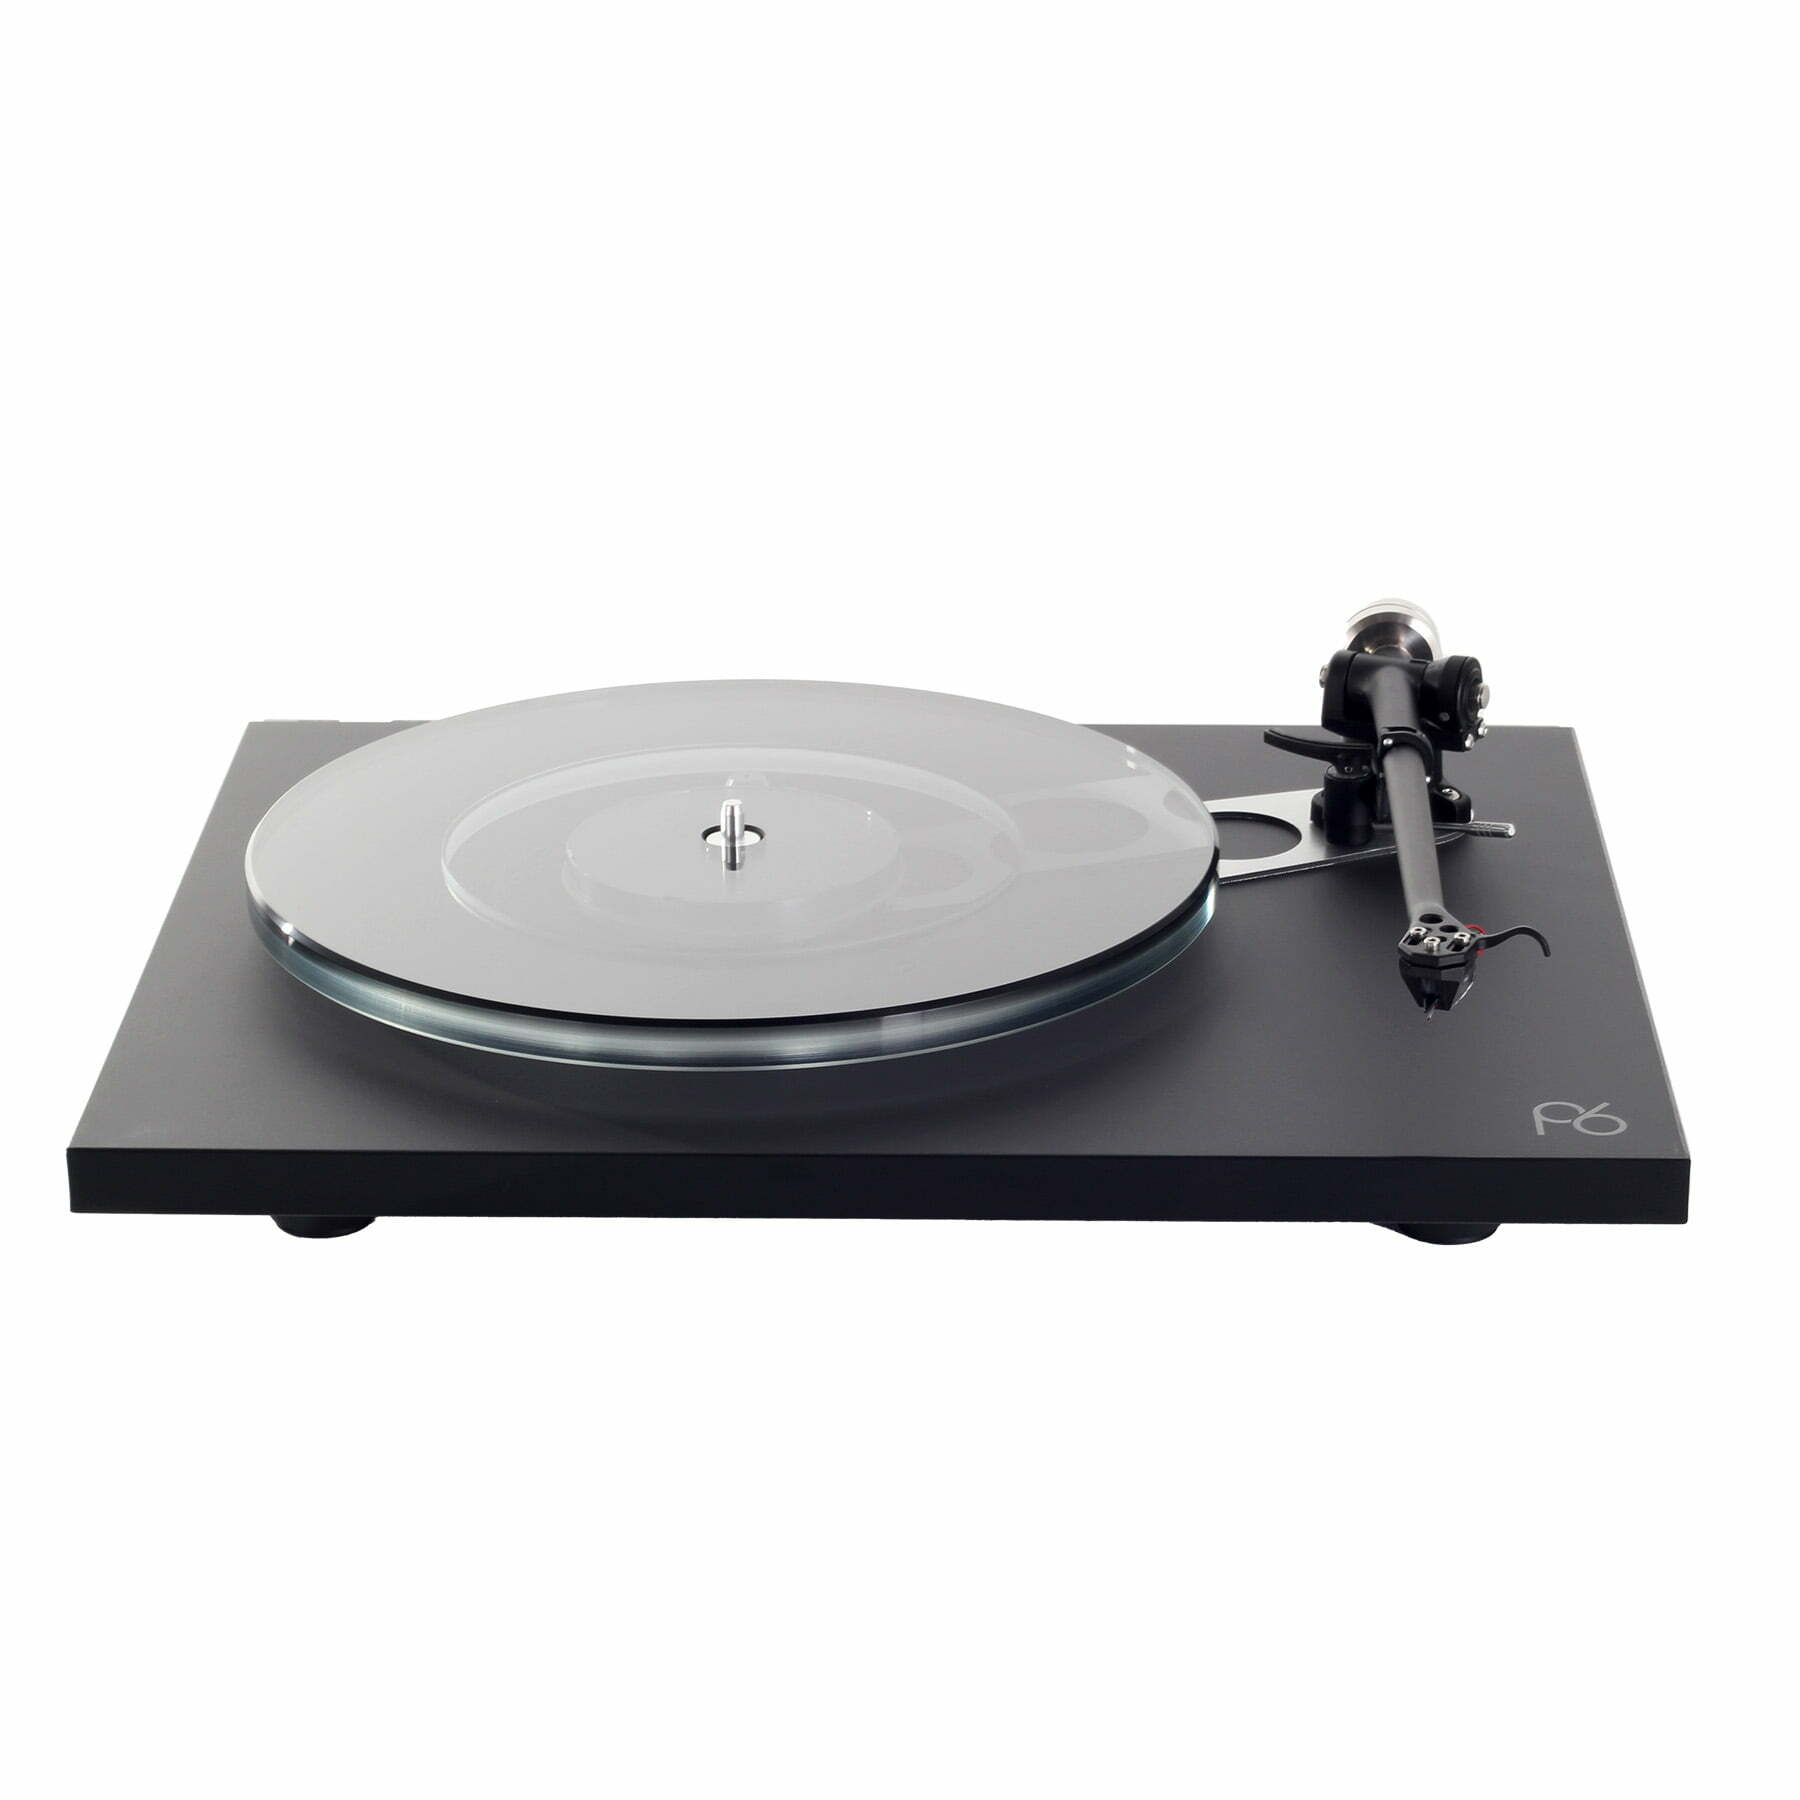
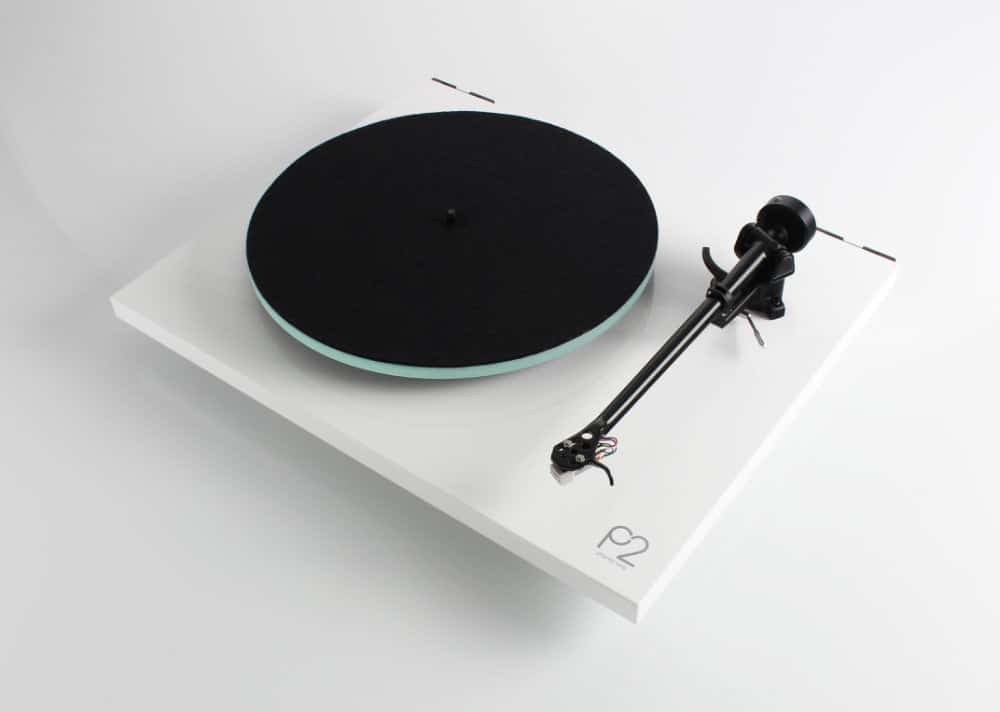
Tonearm I kulfiber
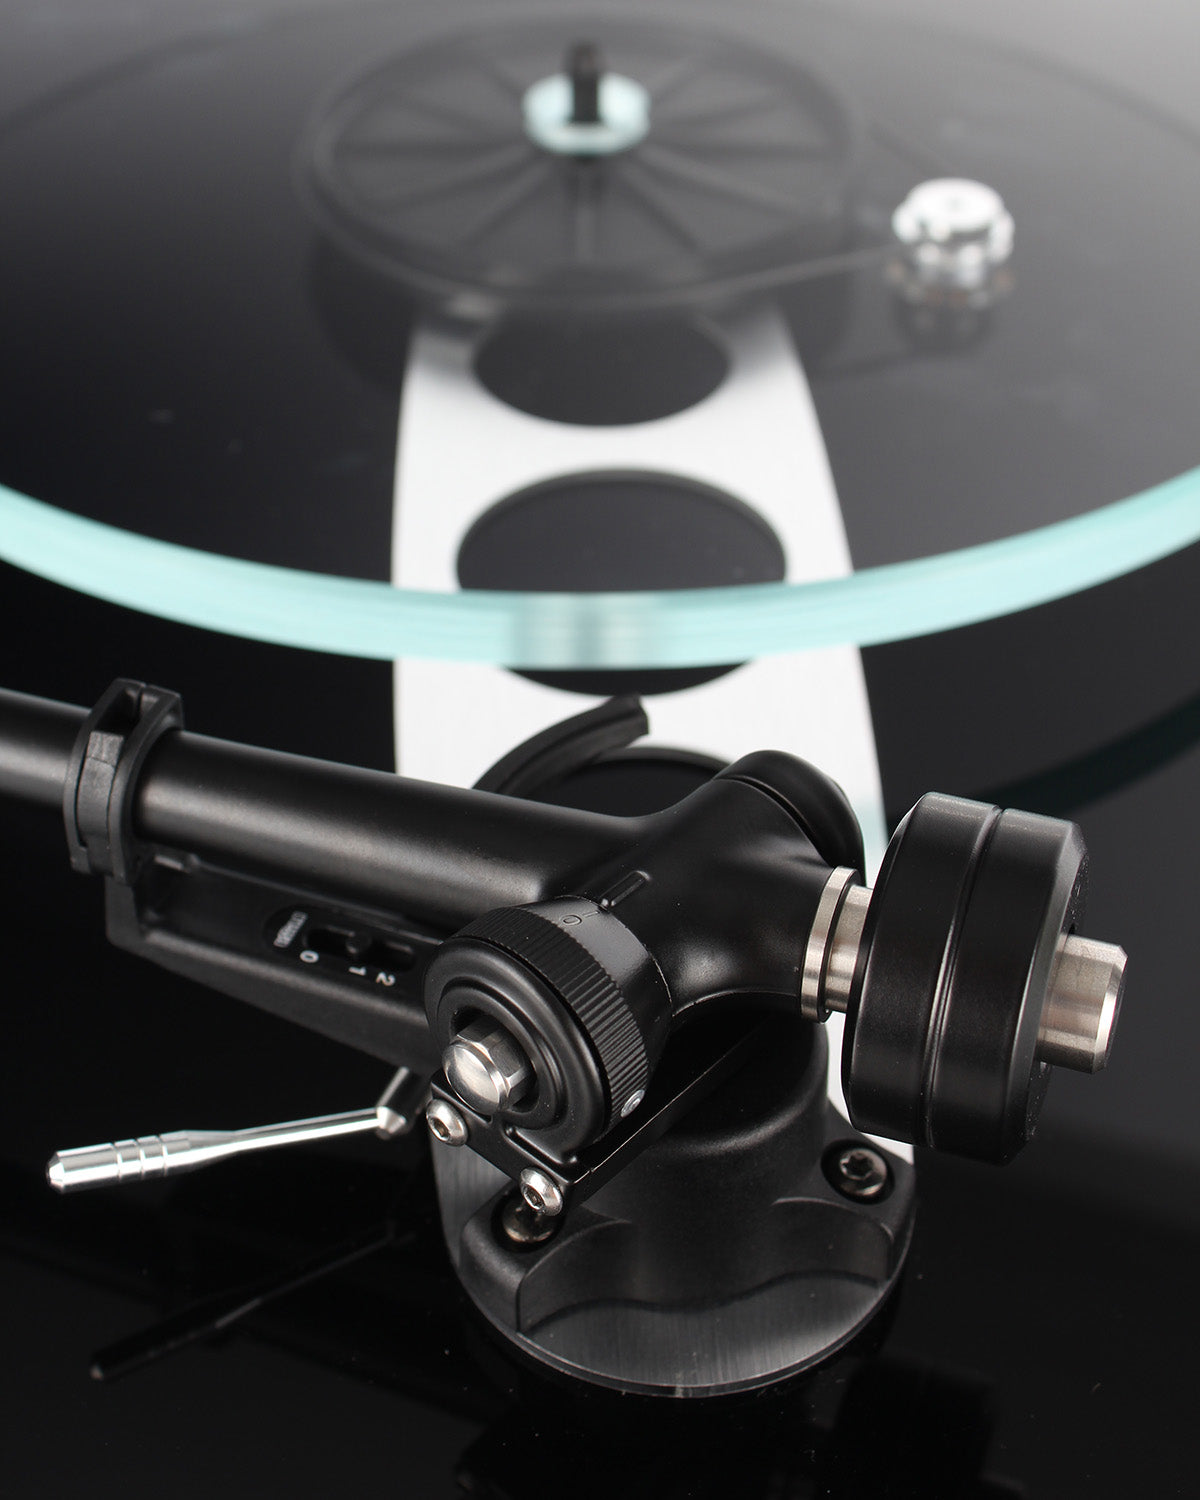
Rega RB-330 Tonearm
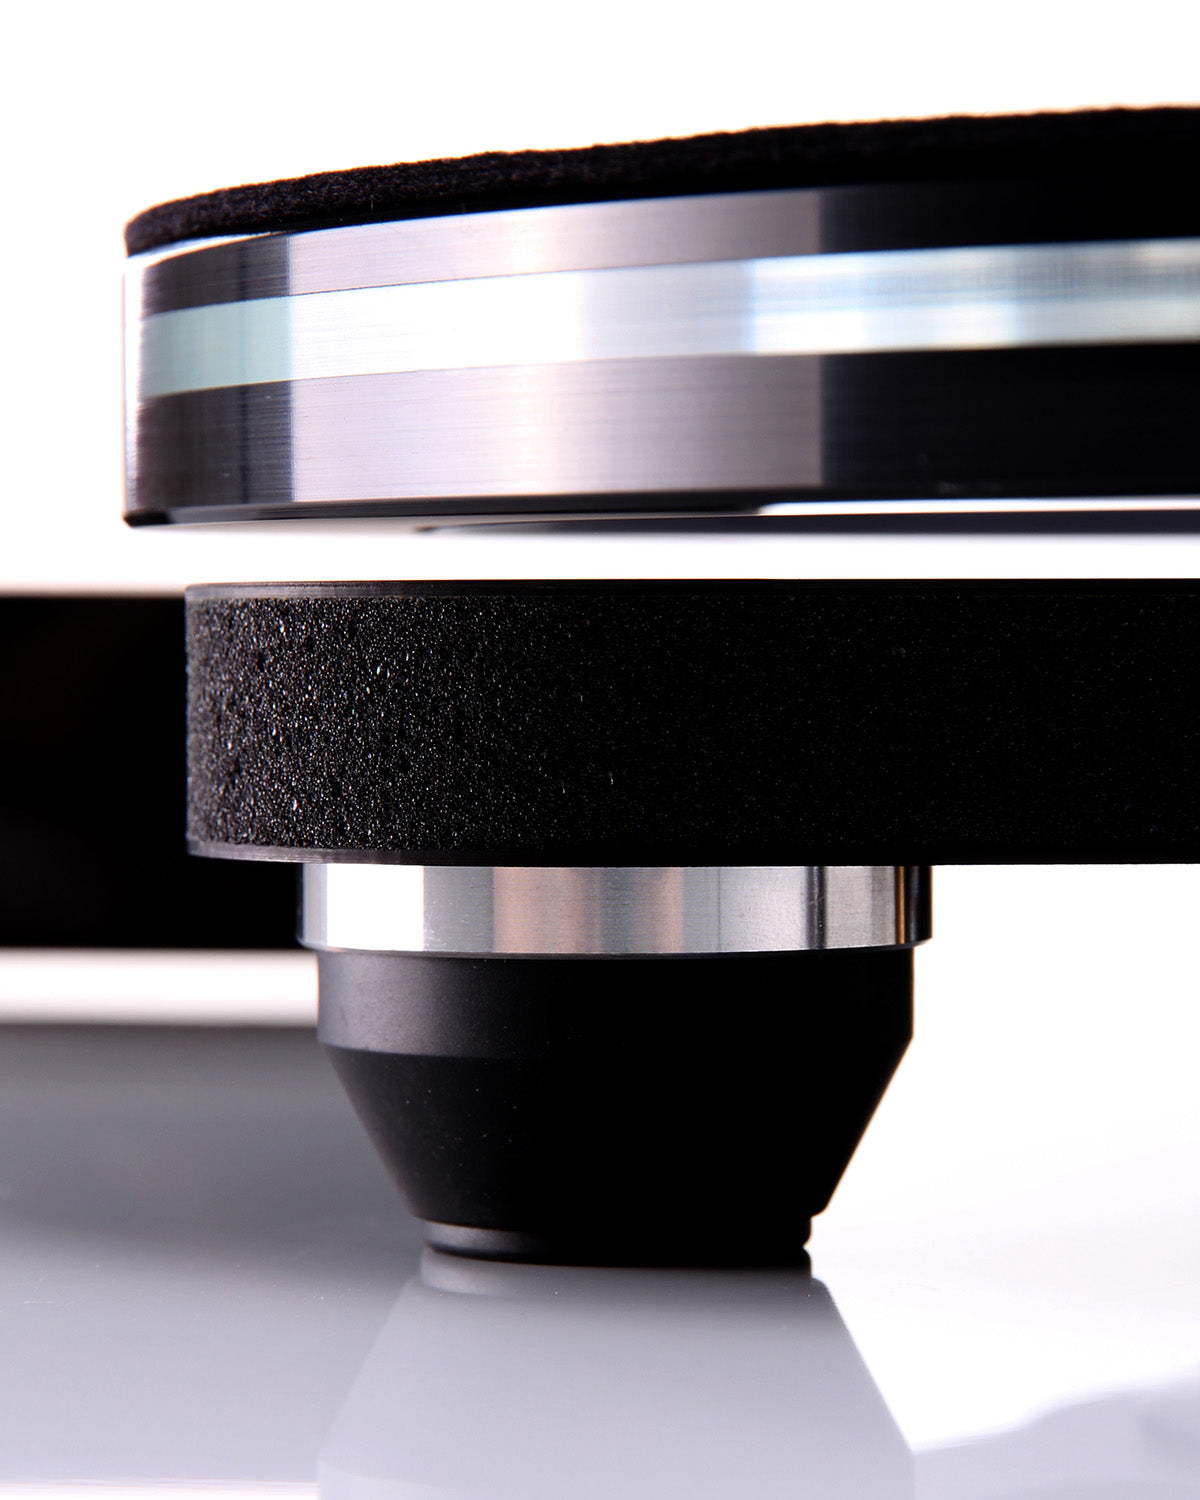
Plint i materiale fra rumfartindustrien
5. Trin til at indstille pladespilleren
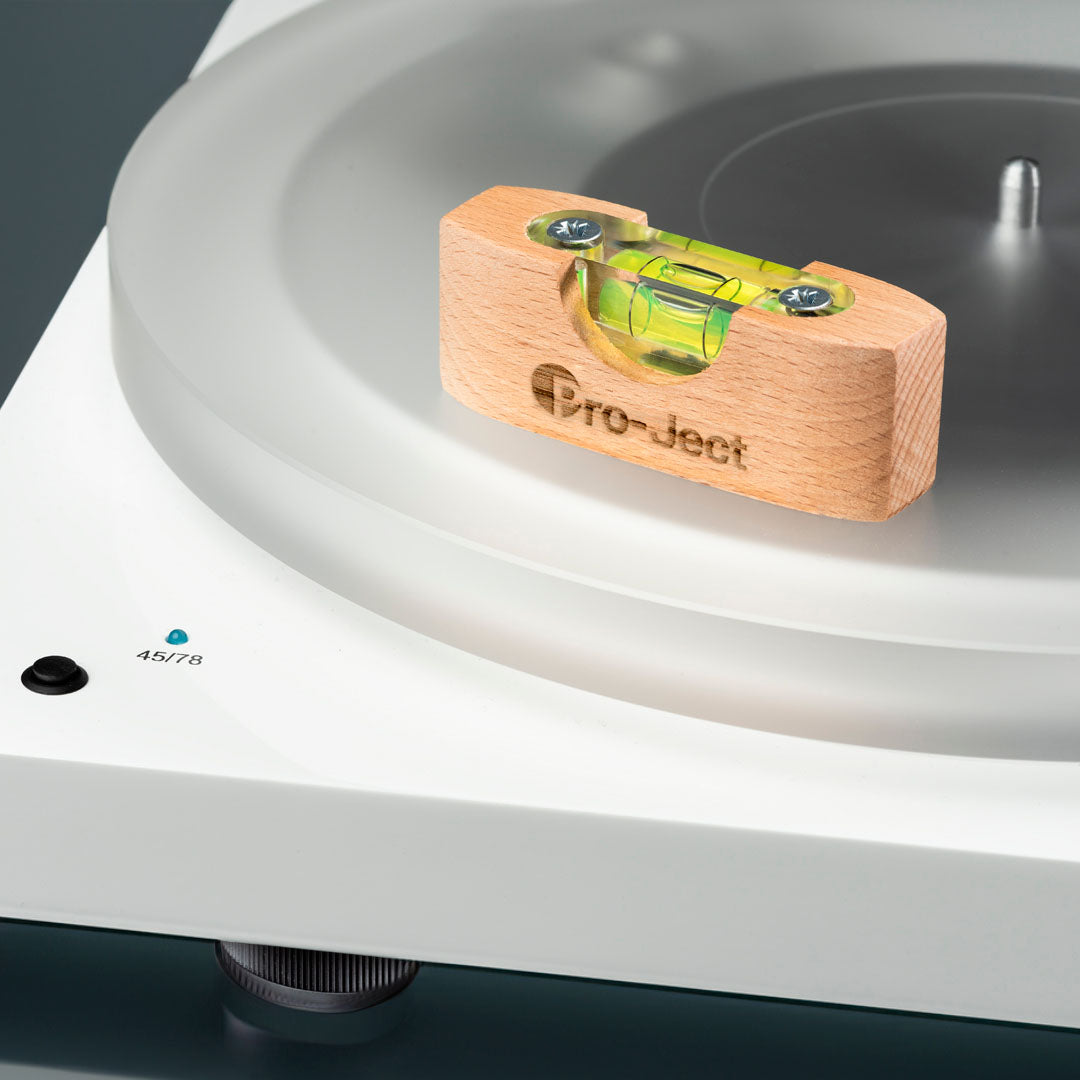
1. En jævn base
Begynd med at placere din pladespiller på et solidt og jævnt underlag. Brug et vaterpas for at sikre, at pladespilleren er helt vandret. Det sikrer, at alle de følgende justeringer sker på det rette grundlag.
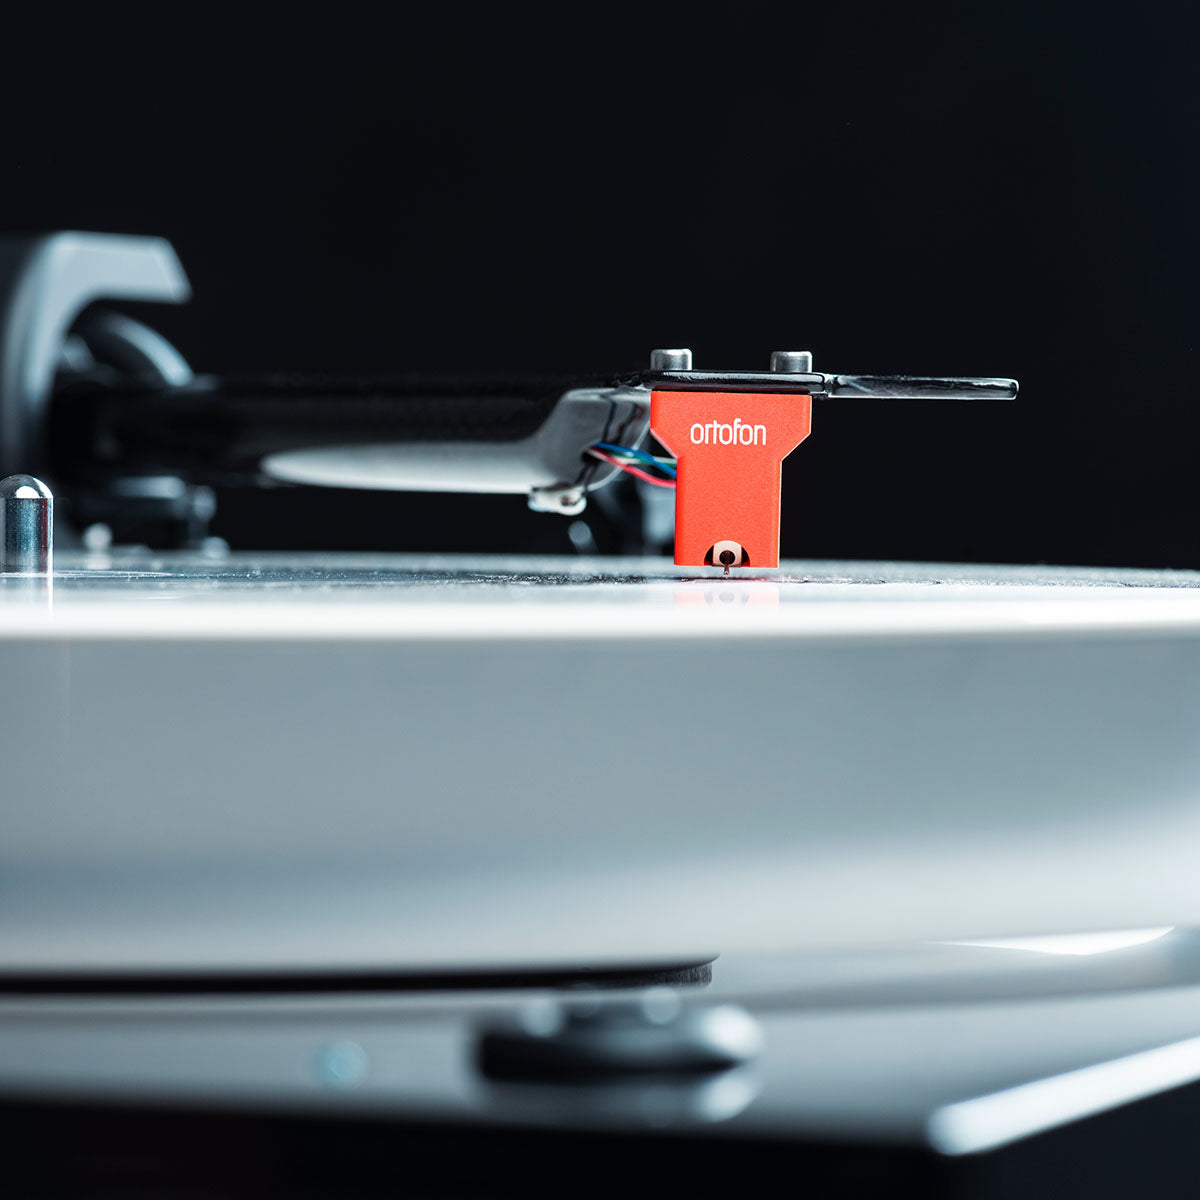
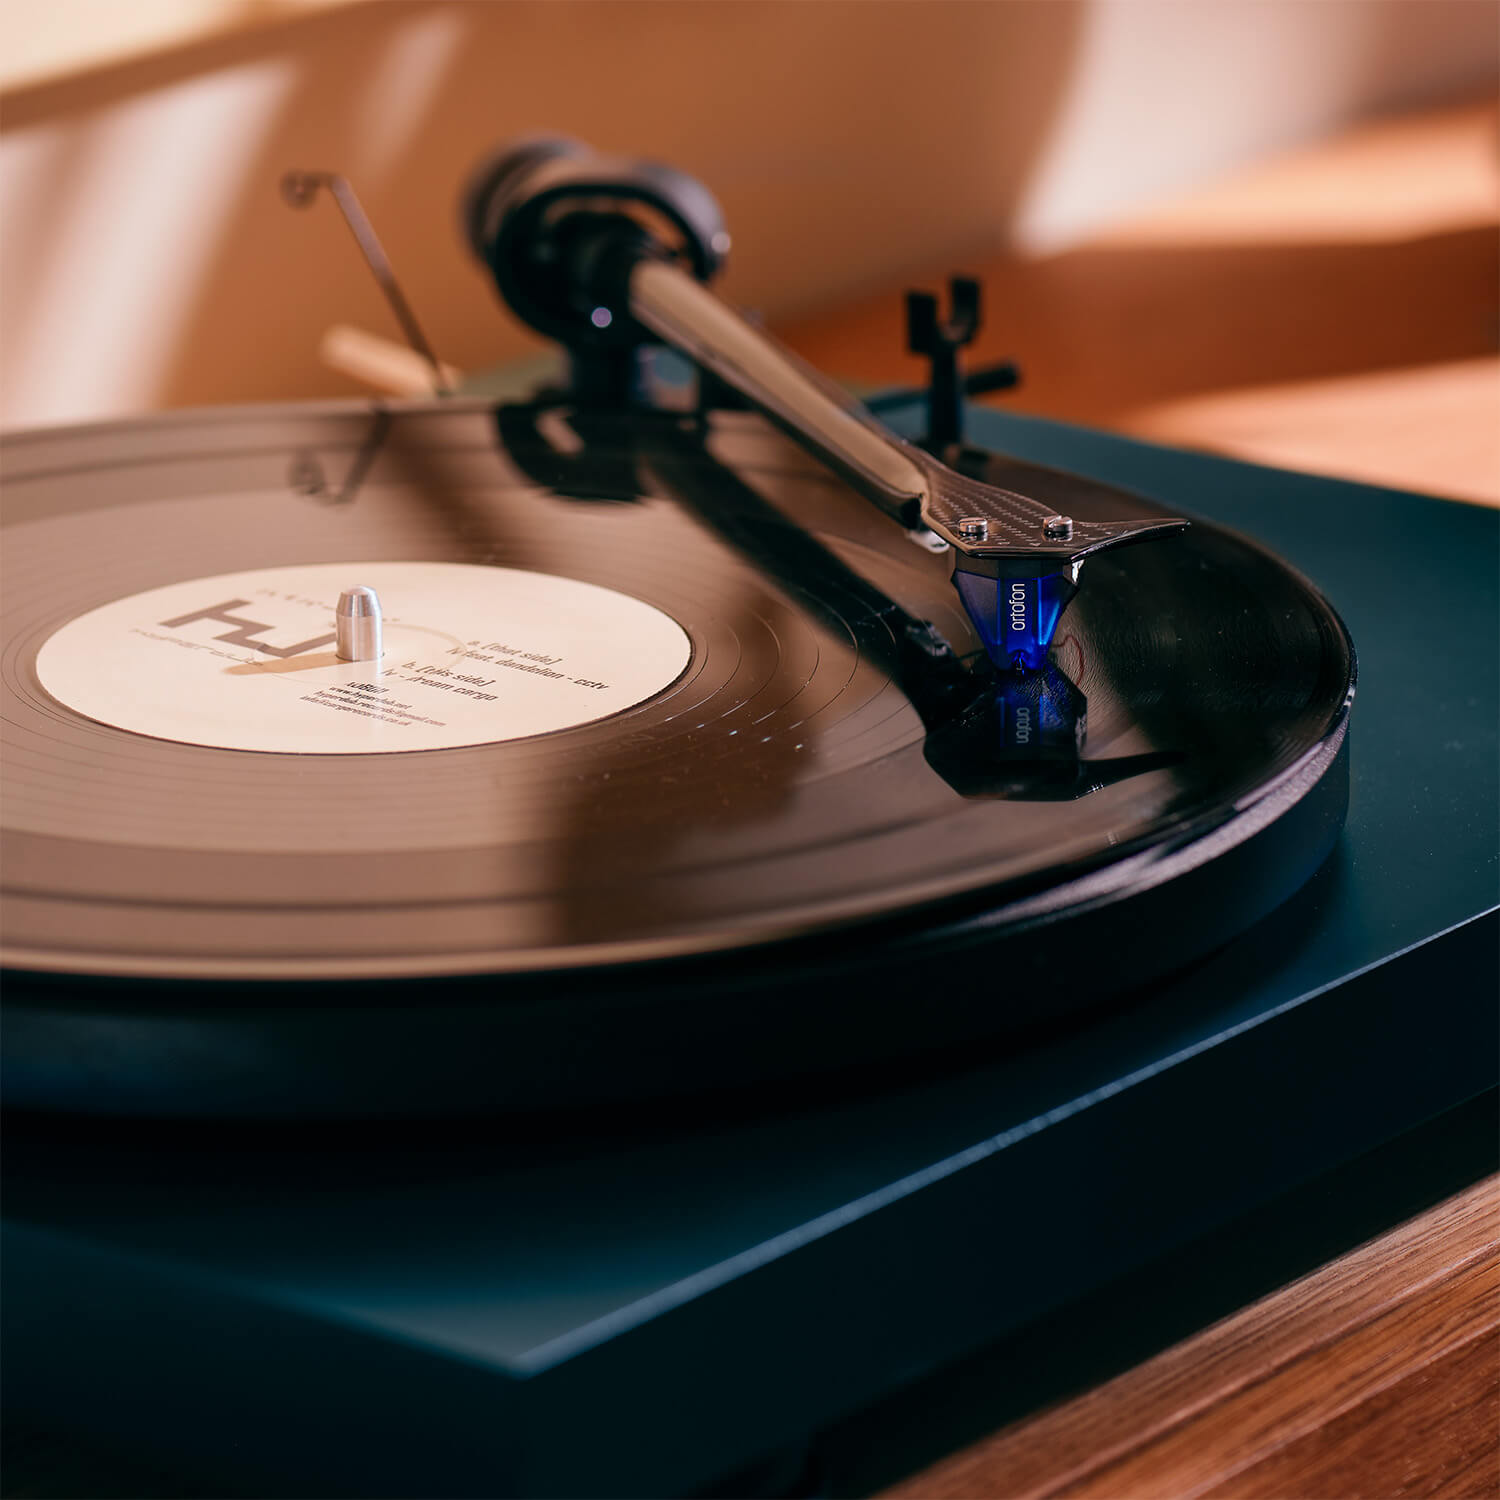
2. Justering af pickuppen
Når vi taler om pickuppens vinkel, henviser vi til den præcise position, hvor pickuppen er monteret på tonearmen, så nålen har den rette vinkel i forhold til pladens riller. Det korrekte vinkeljustering er afgørende for en præcis og optimal aftastning af musikken.
For at opnå den korrekte placering af pickuppen, bruger vi en protractor (en slags skala) til at guide os. Formålet med denne justering er at sikre, at nålen har den bedst mulige kontakt med pladens riller, hvilket resulterer i en korrekt aftastning af lyden. Ved at følge protractorens linjer præcist, sikrer du, at pickuppen er monteret i den korrekte vinkel i forhold til pladens overflade.
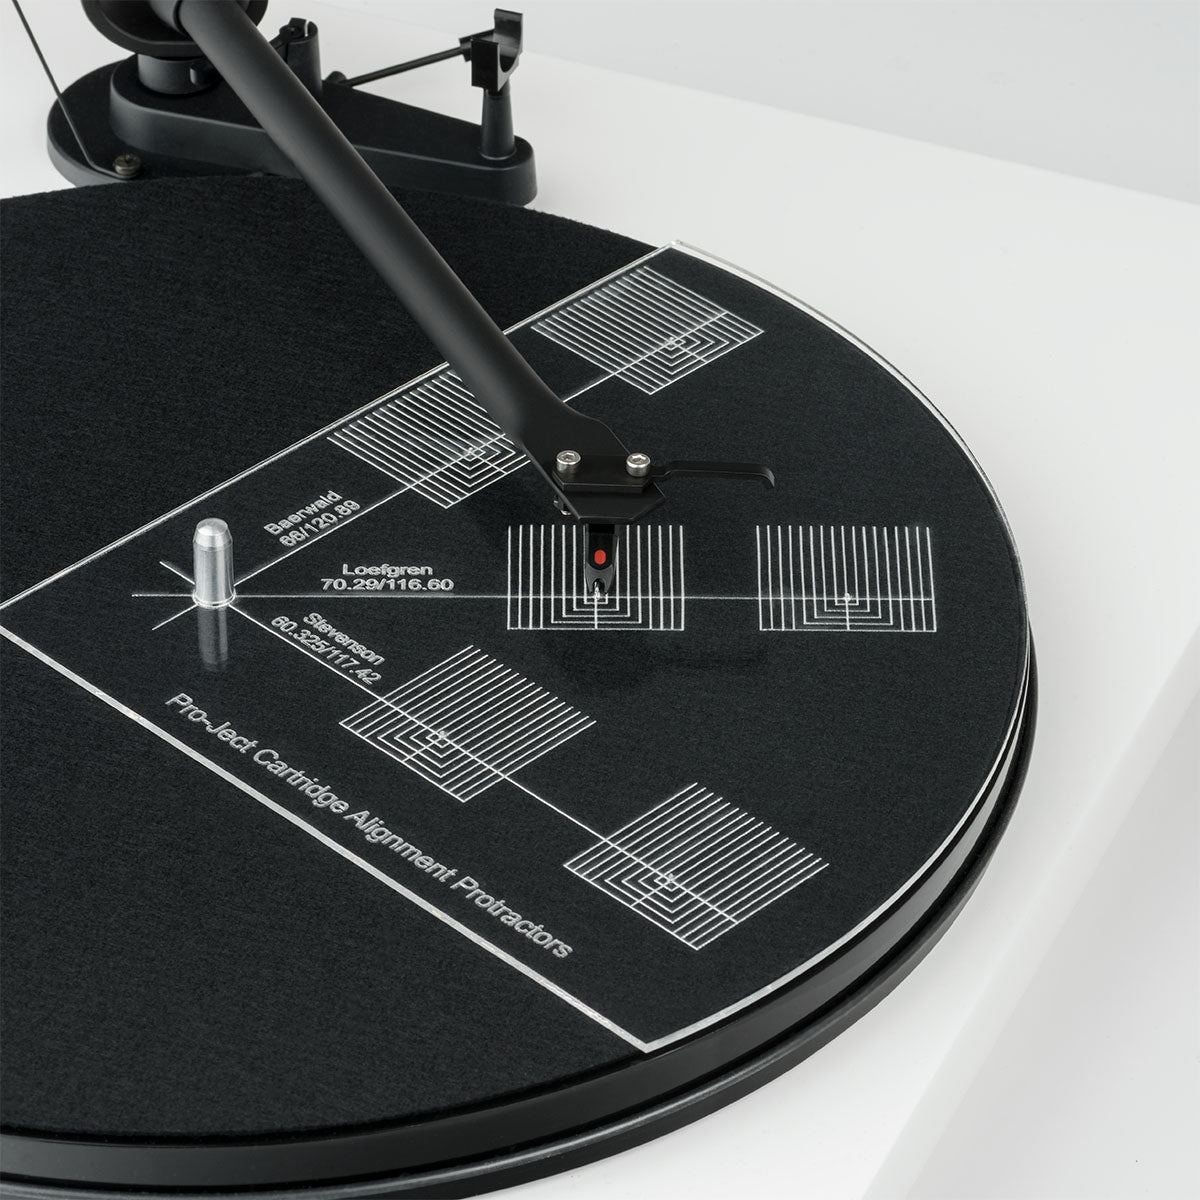
2.1 Brug protractoren
Følg disse skridt når du bruger protractoren:
- Placer protractoren på pladetallerkenen, så det lille hul er centreret over centerpinden.
- Justér nu pickuppen, indtil siderne på pickuphuset er nøjagtigt justeret til linjerne på protractoren. Dette sikrer, at pickuppen er i den rette vinkel i forhold til pladens riller.
Det er vigtigt at bemærke, at den specifikke vinkel kan variere afhængigt af producenten og modellen af din pickup. Nogle producenter kan angive den ønskede vinkel i deres dokumentation eller instruktionsmanual. Hvis det ikke er tilfældet, er det en god idé at sikre, at pickuppen er justeret parallel med pladens riller så tæt som muligt ved hjælp af protractoren.
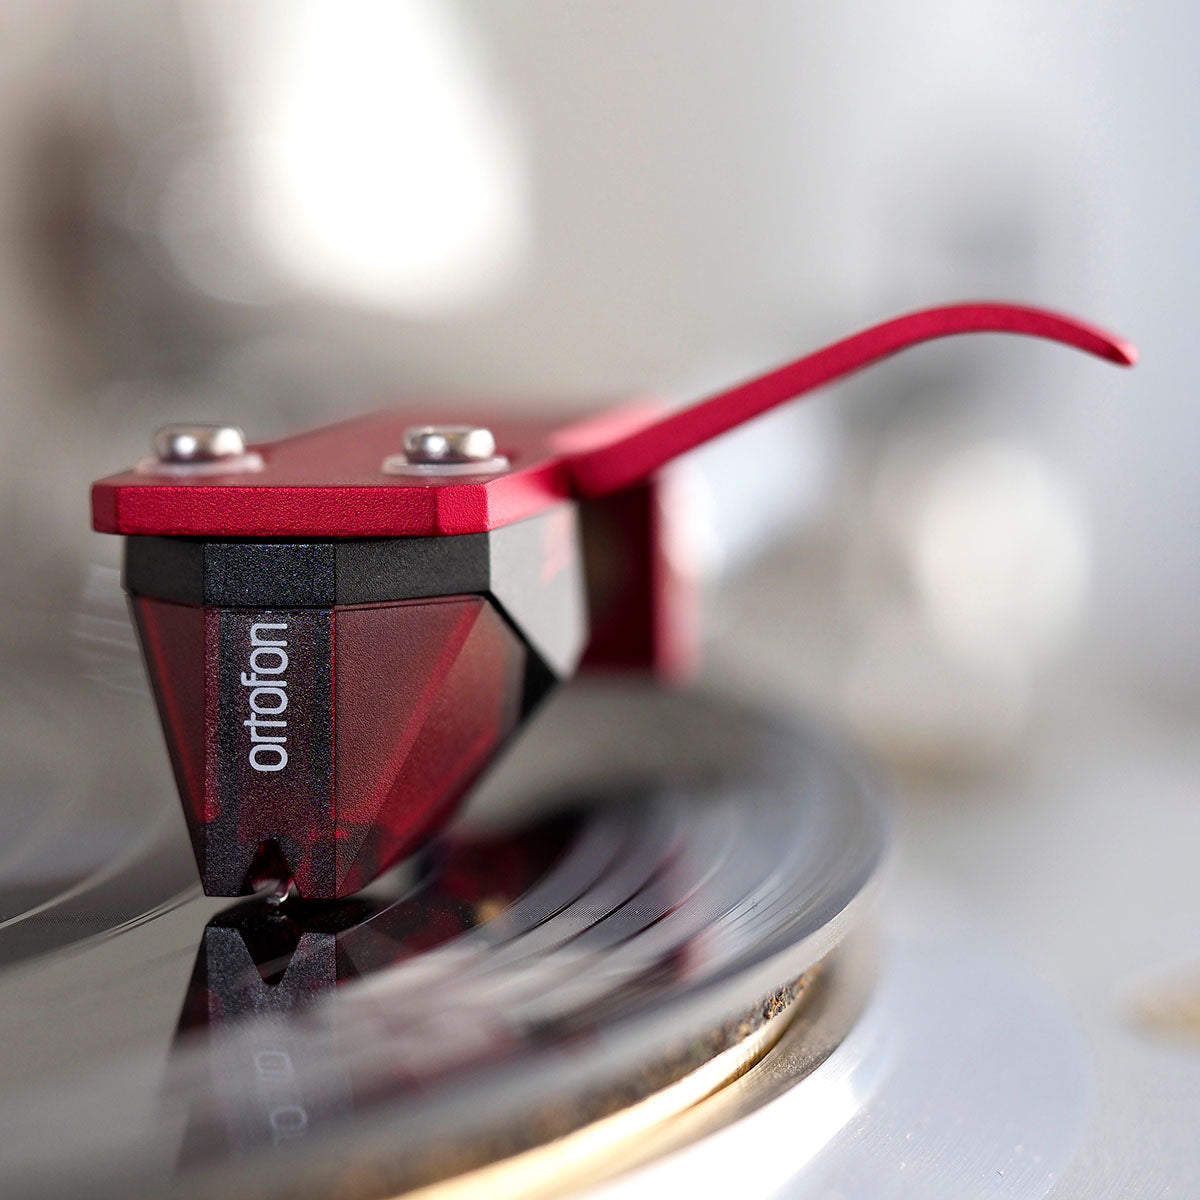
3. Indstil nåletrykket
Det korrekte nåletryk er afgørende for præcis aftastning og minimal slid på pladen. Find producentens anbefaling for nåletrykket. Brug en digital nåletryksvægt eller pladespillerens indbyggede skala til at justere vægten. Start med at nulstille trykket, så nålen svæver let over pladen uden at røre den. Justér derefter vægten omhyggeligt for at opnå det anbefalede nåletryk.
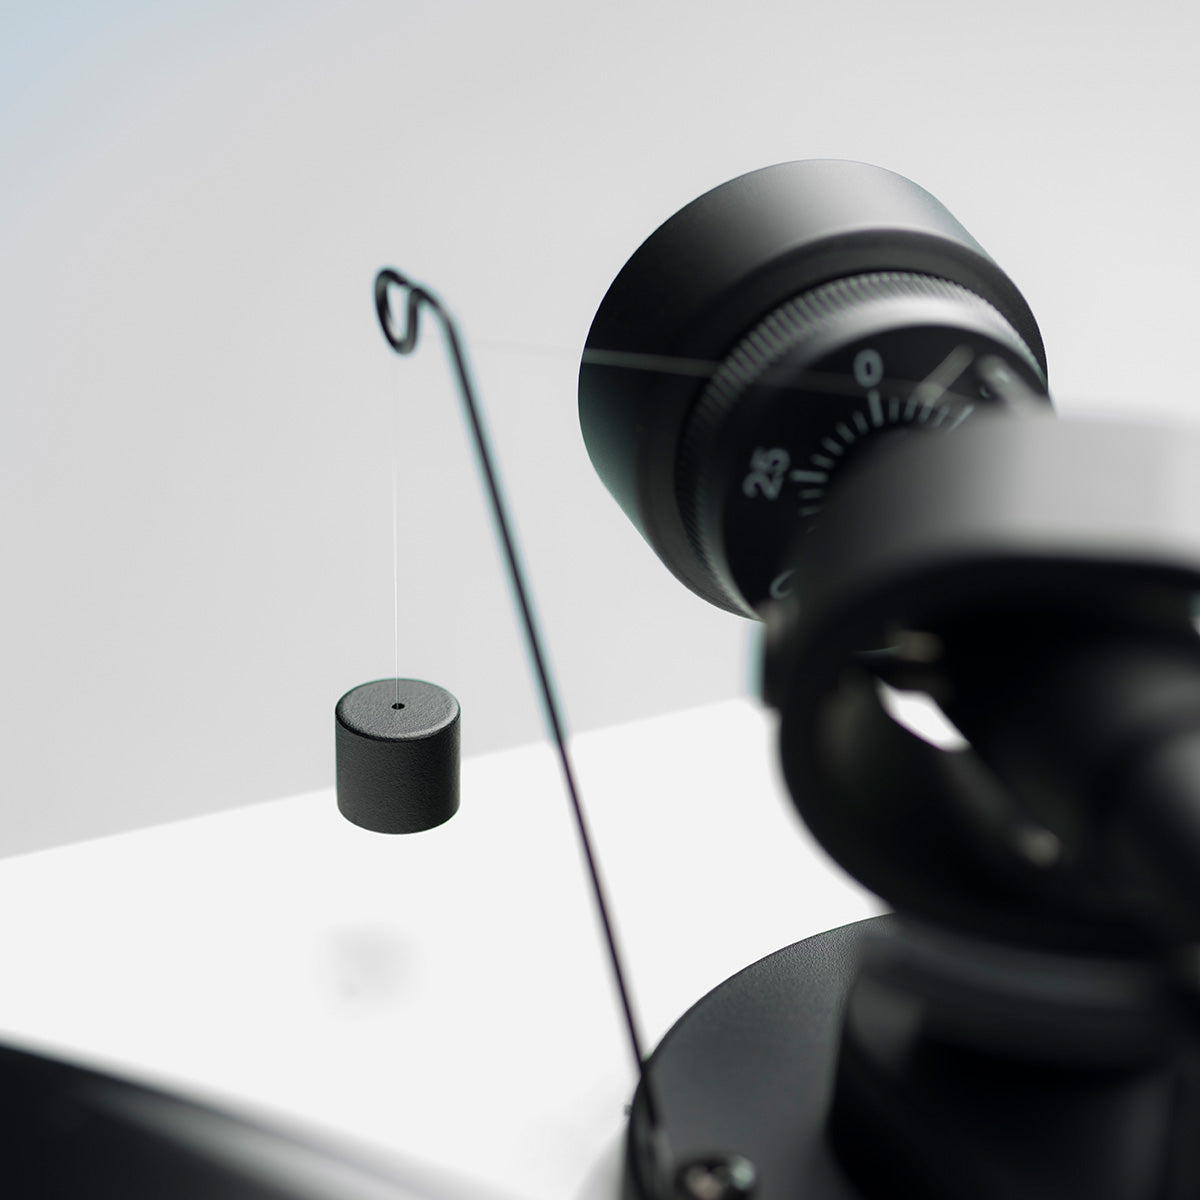
4. Juster anti-skatingen
Anti-skating er designet til at opretholde en balance mellem kraften, der trækker tonearmen mod midten, og kraften fra nålen, der søger mod ydersiden af pladen. Denne kraft opstår på grund af den centrifugale kraft fra pladens rotation og den vinkelrette bevægelse af nålen i rillerne. Ved en korrekt justering af anti-skatingen, sikrer du, at nålen sporer pladerillen præcist og minimerer belastningen på både nål og plade.
For at indstille anti-skatingen korrekt, skal du starte med at finde anti-skating kontrollen på din pladespiller. Denne kontrol kan tage form af en justerbar vægt, en line eller en magnetisk justering. Hvis producenten ikke specifikt angiver en værdi, indstilles anti-skating normalt til samme værdi som nåletrykket. Placer pickuppen midt på en af dine plader og observer dens bevægelse. Den skal være i balance og hverken trækkes mod midten eller skubbes væk. Når dette er lykkedes har du indstillet anti-skatingen korrekt.
5. Juster VTA'en - Den vertikale sporingsvinkel
Ved de fleste pladespillere behøver du ikke tænke over VTA'en, hvis du holder dig til de gængse mærker inden for pickupper. Det skyldes, at pladespiller producenterne har justeret VTA'en til at passe med disse mærker.
Hvis du begynder at lege med andre plademåtter, skal du dog være meget opmærksom på, om de har samme højde som den originale, da det kan ændre VTA'en.
Hvis du har brug for at ændre VTA'en, skal nålefanens vinkel være i vater i forhold til pladen. Når den er det, har du indstillet VTA'en korrekt. Du finder typisk VTA'en bagerst på tonearmen i form af en unbrako skrue, som anvist på billedet.
Lad Lydspecialisten hjælpe med alt det svære
Når du køber en pladespiller hos os, kan du få den indstillet af en vores specialister helt kvit og frit. Så kan du lade bekymringerne bag dig, og nyde at den er klar til at levere den optimale lydkvalitet - helt uden at du behøver at rode med alt det tekniske. Indstillingen vil blive foretaget af indehaver og produktspecialisten Thomas Mørk, der har mere end 30 års erfaring med pladespiller opsætning.
Hos Lydspecialisten ønsker vi nemlig, at din rejse ind i vinylens verden skal være så problemfri og glædesfyldt som muligt.

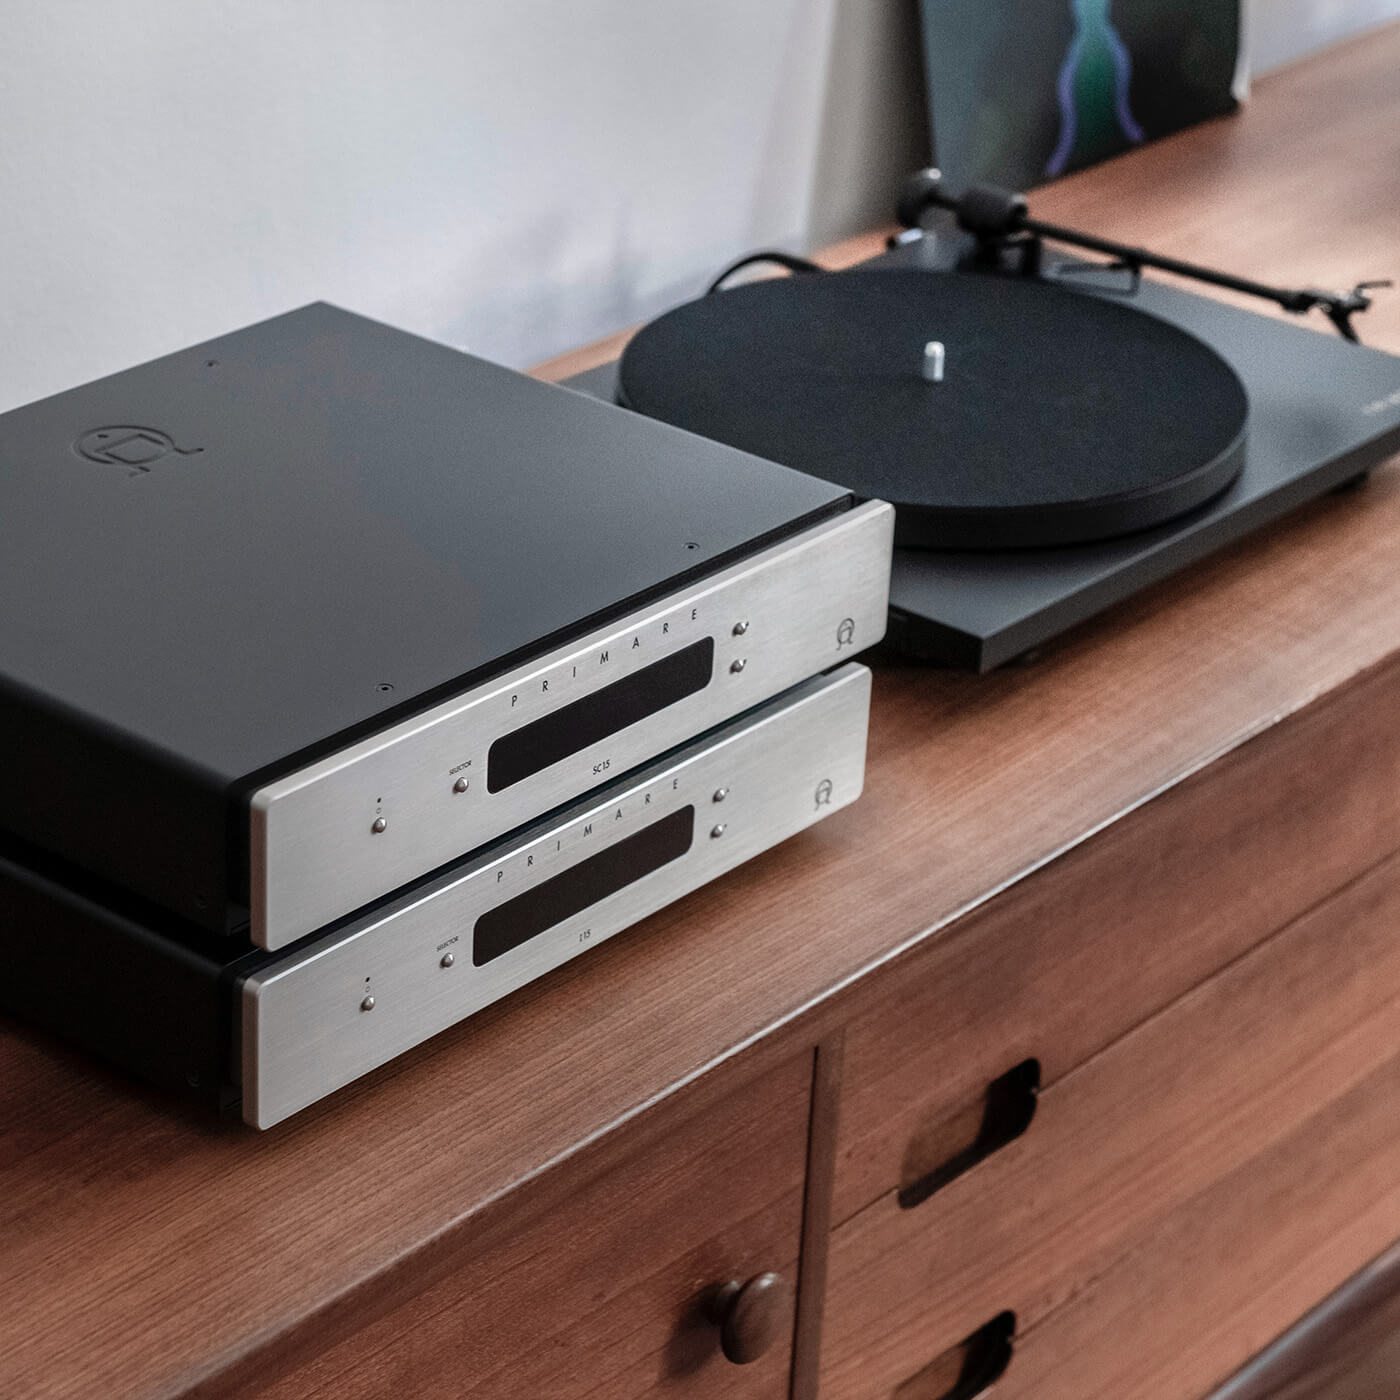
Pladespillere i høj kvalitet
Tilbehør til pladespilleren
Pickupper til ethvert behov
Forkæl din pladespiller med en pickup, der passer til lige præcis dit behov. Vi hjælper dig selvfølgelig gerne med at finde den rigtige og med monteringen.
Riaa-forstærkere i høj kvalitet
Der kommer ingen lyd ud af pladespilleren uden en RIAA-forstærker. Fordi pickuppens signal skal forstærkes så meget, er der virkelig meget at hente med en ordentlig RIAA.
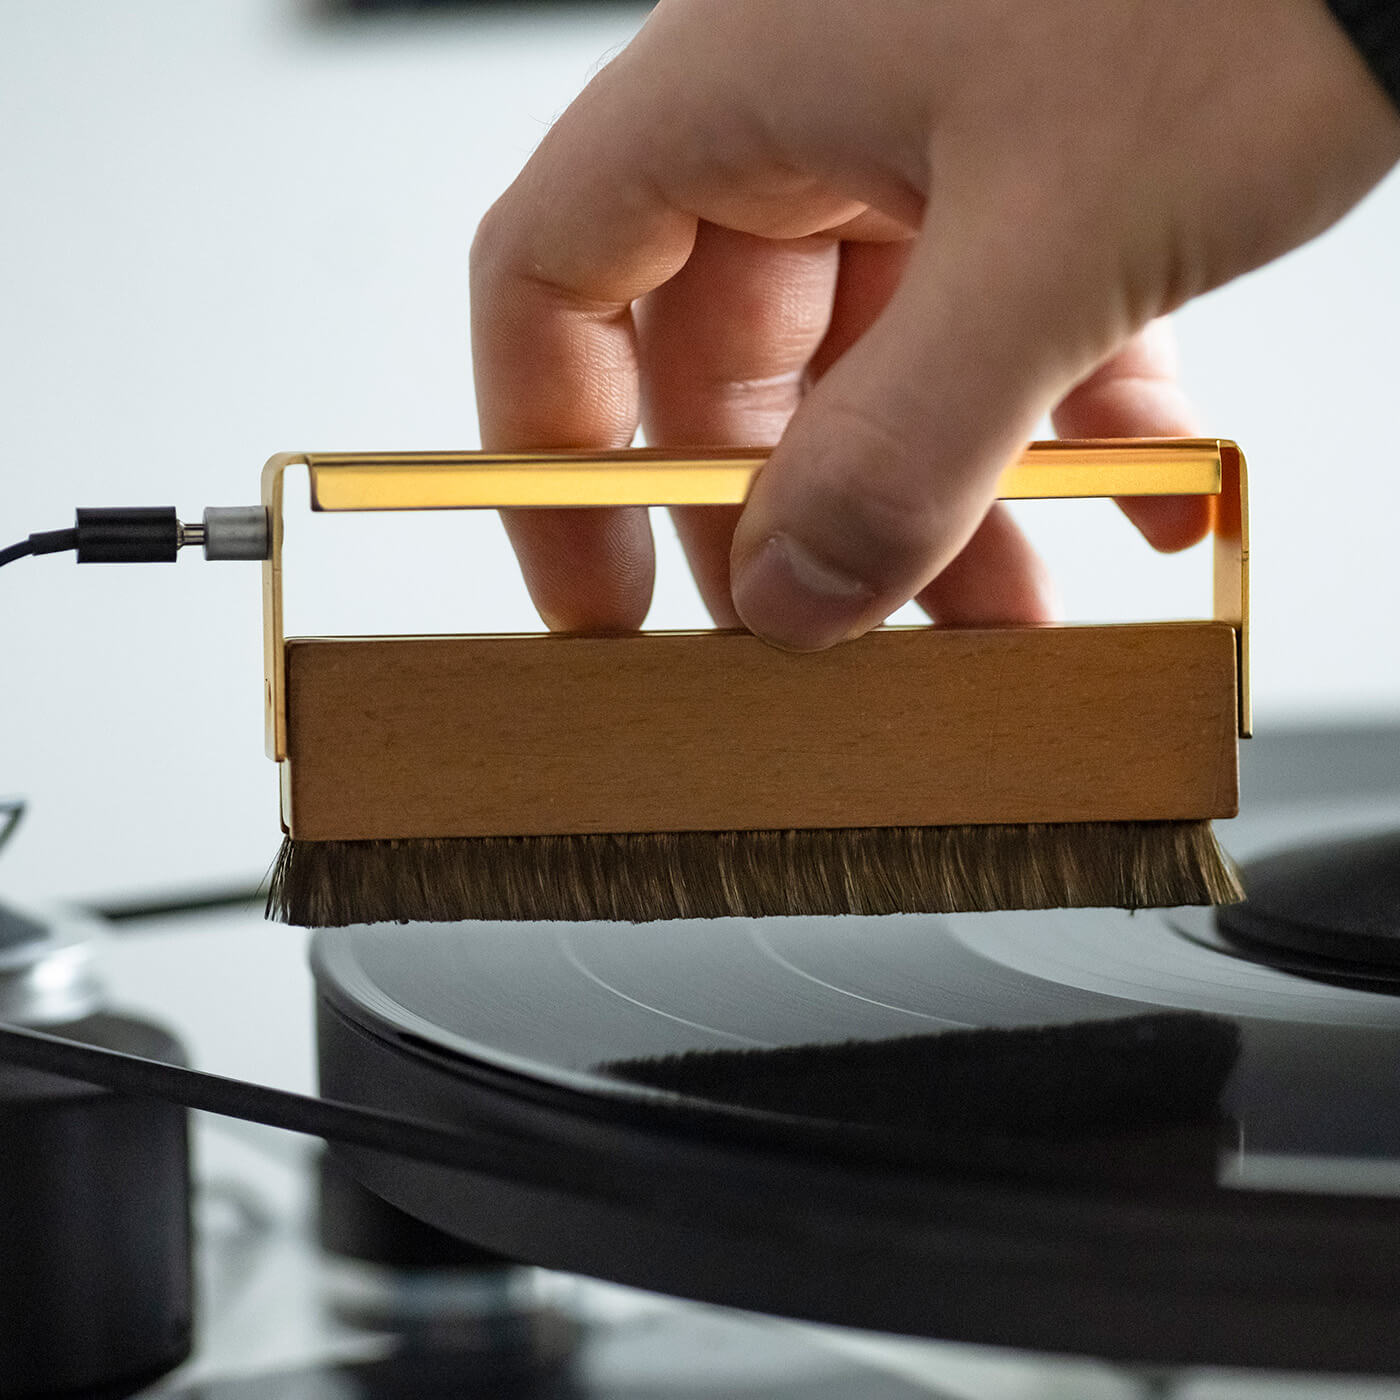
Vedligehold din pladespiller
Det er alfa og omega for pladespilleren, at den bliver vedligeholdt. Find det rigtige her og få bedre lydkvalitet og levetid fra din pladespiller.
Læs mere
Sådan opsætter og indstiller du din subwoofer
En subwoofer er en fantastisk tilføjelse til dit lydsystem, men hvordan indstiller du den korrekt? Få styr på det med vores 5 lette trin til bedre bas.
Læs mere